
To stop clipping and achieve a cleaner sound, first focus on setting your microphone gain properly. Adjust the gain so that your input level is strong but doesn’t peak into the red zone, risking distortion. Once the gain is set right, use the volume control to adjust output to a comfortable listening level. Balancing these controls helps preserve audio clarity and prevents overloads. Keep exploring to discover advanced tips for perfect calibration and ideal sound quality.
Key Takeaways
- Gain controls the amplification of the microphone’s input signal, preventing distortion by setting the proper input level.
- Volume adjusts the loudness of the audio output, ensuring clarity without causing speaker distortion or listener fatigue.
- Proper gain calibration avoids clipping and maintains natural sound dynamics at the source.
- Using volume control to fine-tune perceived loudness prevents overdriving speakers and preserves audio quality.
- Balancing gain and volume is essential for clean, distortion-free sound and a professional listening experience.
Understanding the difference between mic gain and volume is vital for achieving clear, professional sound. When you’re setting up your audio equipment, knowing how to properly calibrate your microphone ensures that your recordings or live sound are clean and free of unwanted distortion. Microphone calibration involves adjusting the gain so that the microphone captures audio at the correct level, without clipping or losing detail. This process helps you control audio dynamics, which are the variations in loudness throughout your performance or recording. By managing these dynamics effectively, you avoid sudden peaks that cause distortion and ensure your sound remains natural and balanced.
Proper mic calibration ensures clear, balanced sound free of distortion.
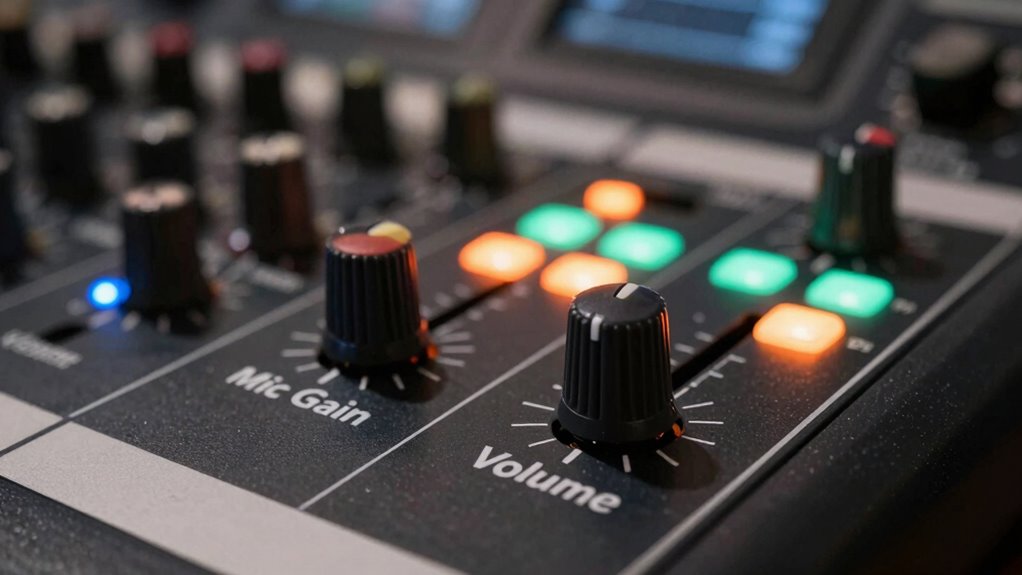
Mic gain is the control that sets how strongly your microphone’s signal is amplified before it hits the rest of your audio chain. When you increase gain, you’re fundamentally making the microphone’s input louder, which can be useful if your source is quiet. However, turning up the gain too much risks clipping—when the signal exceeds the maximum level the system can handle—resulting in distortion and a harsh, unpleasant sound. Proper microphone calibration involves finding that sweet spot where the gain is high enough to capture all the nuances of your performance but not so high that it causes clipping or distorts the audio. This careful adjustment helps maintain audio dynamics, ensuring the natural ebb and flow of sound are preserved. Additionally, understanding the technical specifications of your equipment can aid in more precise calibration.
Volume, on the other hand, controls how loud the audio sounds once it’s already been amplified and processed. Think of it as the final step in your audio chain, adjusting how you perceive the sound at your listening position. While gain affects the raw input level, volume affects the output level you hear, whether through speakers or headphones. If you set your volume too high, you risk overdriving your speakers or causing listening fatigue. Conversely, setting it too low might make your audio inaudible or lack clarity. It’s important to keep volume levels aligned with your environment and equipment capabilities to prevent distortion and maintain a clean, balanced sound.
In practice, managing both mic gain and volume correctly ensures you avoid common pitfalls like clipping and muddiness. By calibrating your microphone properly, you control the input and preserve audio dynamics, resulting in clearer, more professional sound. Then, adjusting your volume appropriately lets you tailor the listening experience without introducing distortion. Remember, these controls work hand-in-hand—proper mic gain sets the foundation for good audio quality, and volume ensures that what you hear is comfortable and accurate. Mastering this balance is the key to stopping clipping and achieving a cleaner, more polished sound in every recording or live performance.
Top picks for "gain volume stop"
Open Amazon search results for this keyword.
As an affiliate, we earn on qualifying purchases.
Frequently Asked Questions
Can Adjusting Gain and Volume Improve Overall Sound Quality?
Adjusting gain and volume definitely improves your overall sound quality. Proper microphone placement helps capture clearer audio, while adjusting gain prevents clipping by ensuring signals aren’t too strong. Using sound absorption materials reduces unwanted echoes and background noise. When you set your volume correctly, your recordings stay clean and balanced. So, tweak gain and volume thoughtfully, and combine that with good placement and sound absorption to get the best, clearest sound possible.
How Do I Identify if My Microphone Is Clipping?
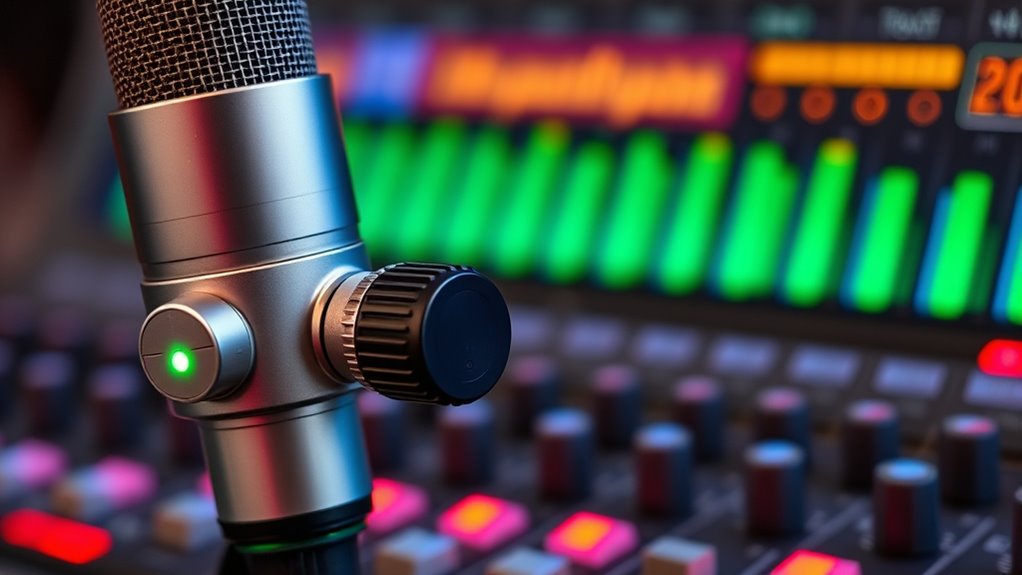
You can tell if your microphone is clipping by listening for audio distortion, especially during loud sounds. Mic clipping happens when the input volume exceeds the microphone’s capacity, causing unpleasant distortion. Watch your level meters for red zones, which indicate clipping. If you notice distortion or the meters hit maximum, lower your gain or volume. This prevents mic clipping, ensuring cleaner sound and better audio quality.
What’s the Best Way to Set Gain for Different Environments?
You should adjust your microphone gain based on room acoustics and placement. Start by placing the mic in a good spot, away from noise sources, and speak at normal volume. Then, slowly increase gain while monitoring for clipping. Consider room acoustics—use sound-absorbing materials if needed. Fine-tune the gain until your recordings sound clear, balanced, and free of distortion, ensuring ideal sound quality across different environments.
Does Higher Gain Always Mean Better Sound?
Think of higher gain like turning up a volume knob, but not every increase improves sound quality. Higher gain doesn’t always mean better sound; it can introduce noise and distort the audio. Your microphone’s sensitivity affects how much it picks up, so setting gain too high might clip or degrade sound fidelity. Instead, aim for a balanced gain setting that captures clear, natural audio without distortion.
How Do I Prevent Distortion When Increasing Volume Levels?
To prevent distortion when increasing volume levels, focus on proper microphone placement to avoid capturing unwanted ambient noise that can cause clipping. Keep the microphone close to your mouth for clearer sound and reduce ambient noise. Use a pop filter or windscreen to minimize harsh sounds. Also, monitor your levels closely; if they peak or clip, lower the volume or gain slightly. This way, your sound stays clean and distortion-free.
Conclusion
Think of your microphone as a river flowing into a lake. If the river is too wide (too high gain), it causes floods (clipping), muddying the water. If it’s too narrow (low gain), the lake stays shallow and quiet. Adjust your mic gain just right—like guiding that river—to keep the water clear and calm. When you find that perfect balance, your sound flows smoothly, free of distortion, creating a pristine, musical lake for everyone to enjoy.