
Your webcam’s poor image quality often stems from having the camera set too high or too low, which distorts your appearance and creates unflattering shadows. Correctly positioning the camera at eye level helps you stay well-lit, look more professional, and reduce distracting backgrounds. Small adjustments in height and angle can make a big difference. If you want to improve your webcam setup, understanding how camera height impacts your appearance is the first step.
Key Takeaways
- Incorrect camera height can distort your appearance, making you look unprofessional or unflattering on camera.
- Placing the webcam too low or high creates shadows and angles that diminish your face’s clarity.
- Proper eye-level positioning ensures even lighting and a natural, engaging perspective.
- Adjusting camera height to eye level improves framing, background, and overall video quality.
- Small height adjustments can significantly enhance your on-camera presence and professionalism.
Why Camera Height Matters for Webcam Quality
The height at which you place your webcam considerably impacts how you appear on camera. If it’s too high, you might look distant or unapproachable, making your viewers feel disconnected. Too low, and you risk capturing unflattering angles or parts of your body you don’t want to show. The ideal position is at eye level, which creates a natural, engaging perspective. This height helps your face look proportionate and keeps your eyes aligned with the camera lens, making eye contact feel genuine. Proper placement also minimizes shadows and distortions that can distort your appearance. When your webcam is at the right height, your image appears professional and confident, enhancing your overall presentation. Adjusting the camera height is a simple yet powerful way to improve your webcam quality instantly.
Common Mistakes in Webcam Positioning
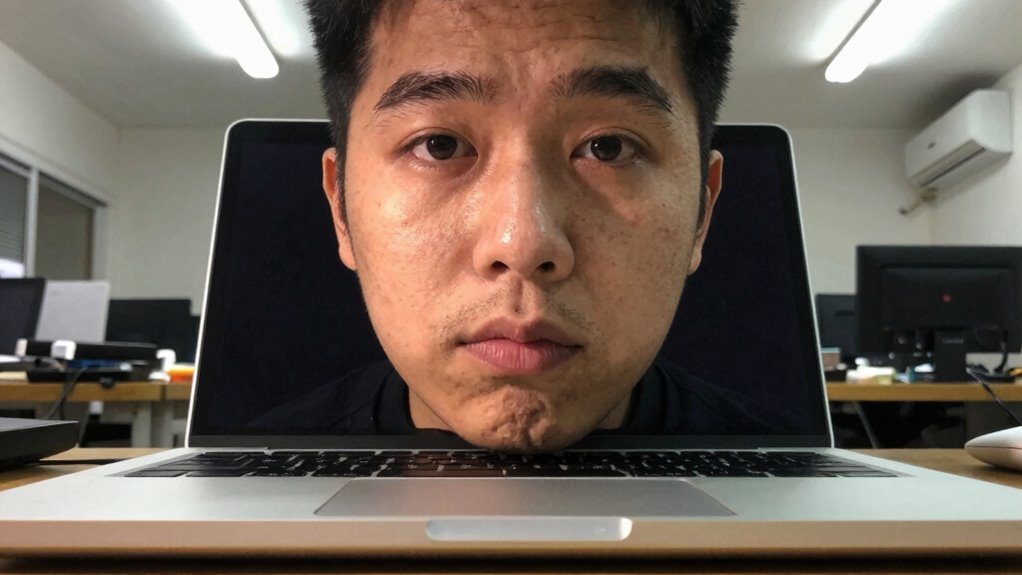
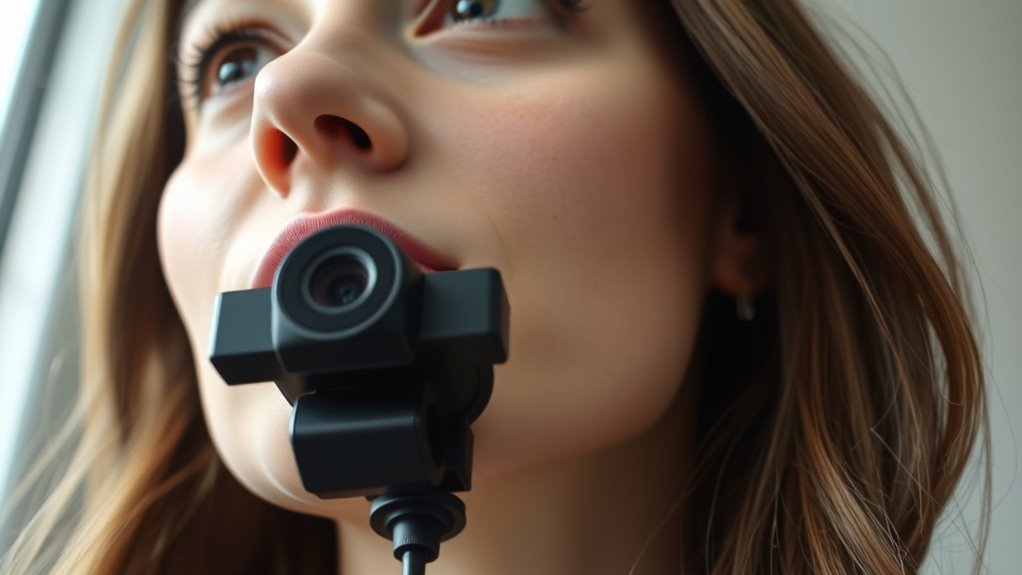
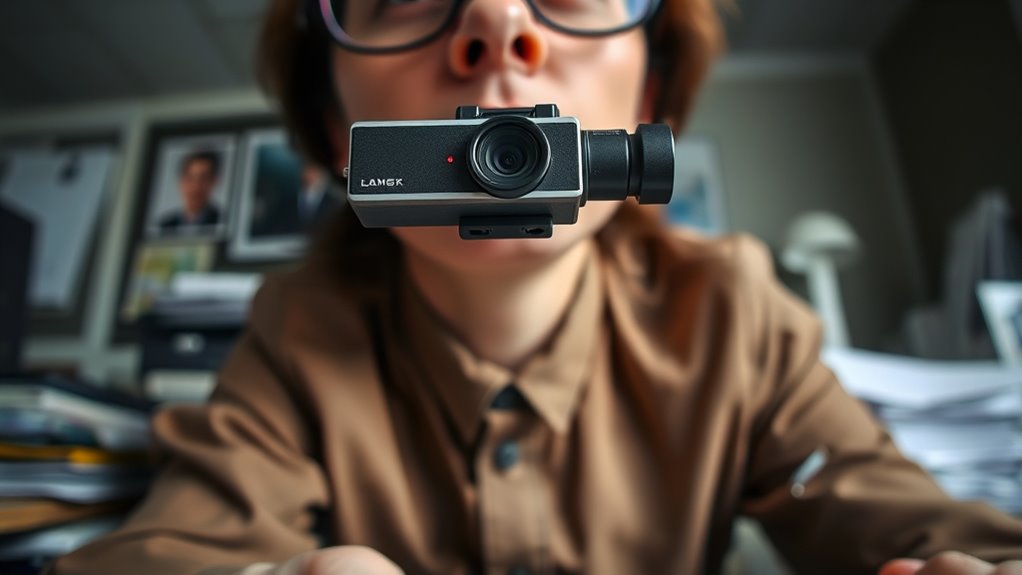
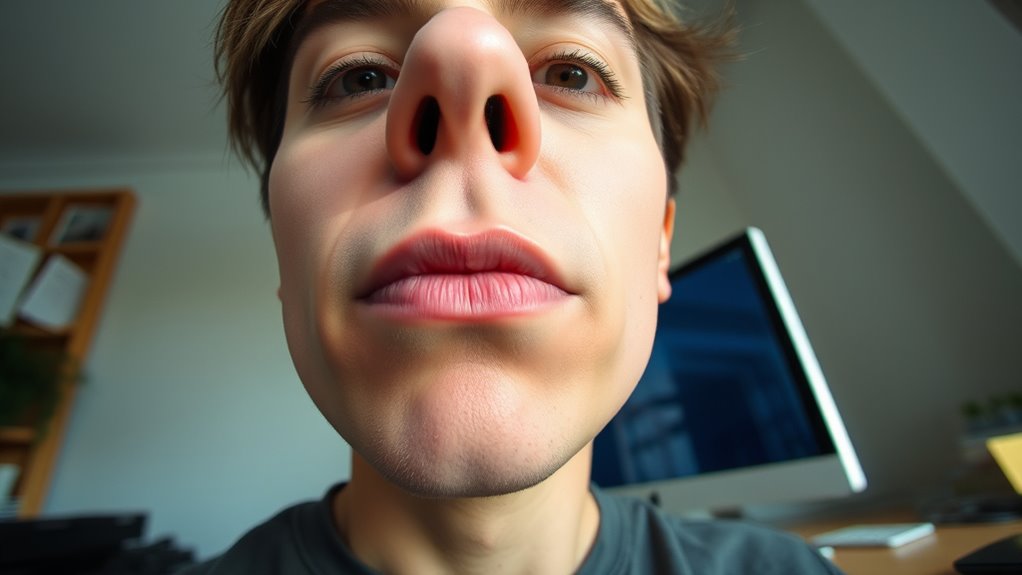
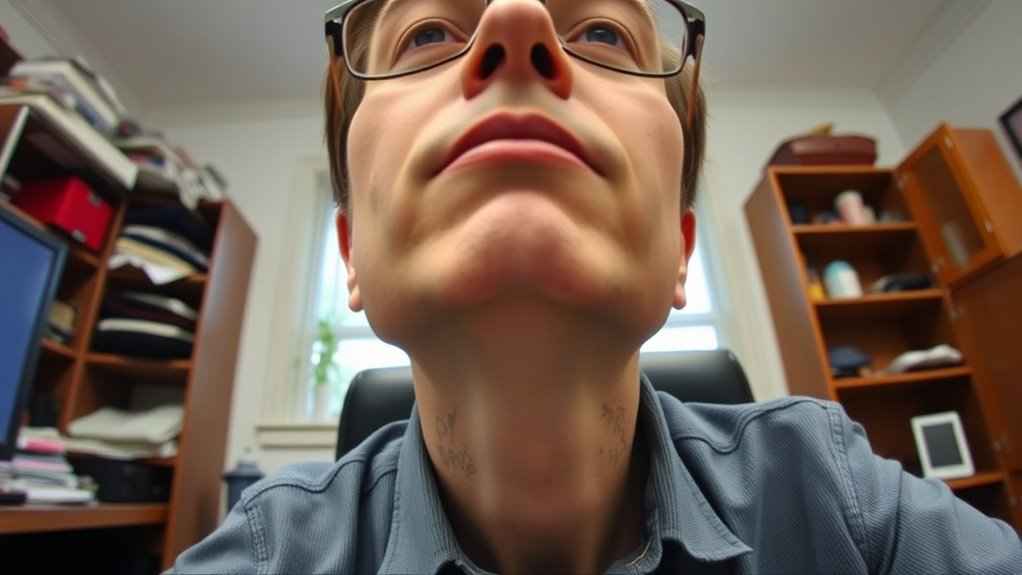
Many people make the mistake of placing their webcams too low or too high, which can distort your appearance and reduce engagement. When your camera is too high, it creates an unflattering downward angle, making you look small or disconnected. Conversely, positioning it too low can give an unprofessional, awkward view, emphasizing your chin or nostrils. Another common error is tilting the webcam sideways or angling it incorrectly, resulting in skewed images or distracting backgrounds. Some forget to check lighting when positioning their camera, causing shadows or poor visibility. Additionally, placing the webcam too close or too far from your face can impact clarity and intimacy. Proper placement is essential; avoid these mistakes to ensure a natural, engaging, and professional-looking video.
How to Find the Perfect Eye Level for Your Webcam
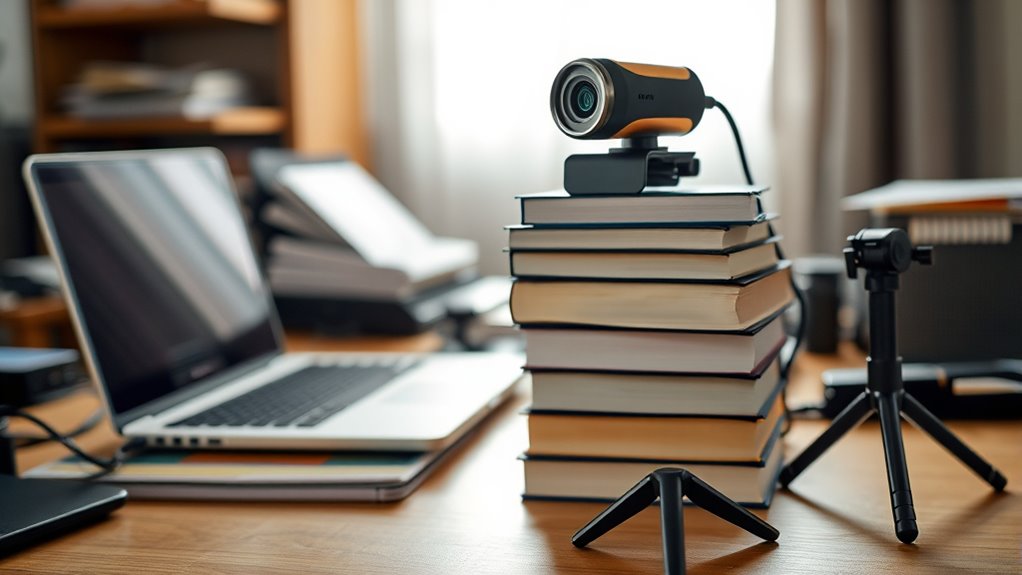
Finding the right eye level for your webcam can dramatically improve how you appear on camera. To do this, position your webcam so it’s roughly at your eye height when you’re seated comfortably. Use a stack of books, a stand, or adjustable mount to raise or lower your camera as needed. Ensure the lens is level with your eyes or just slightly above. This setup creates a natural, engaging perspective, making it easier for viewers to connect with you. Avoid placing the camera too high or too low, which can distort your appearance or create unflattering angles. Take a moment to sit naturally, then adjust the camera until your eyes are centered in the frame. This simple step significantly enhances your on-camera presence.
The Impact of Camera Angle on Your Appearance
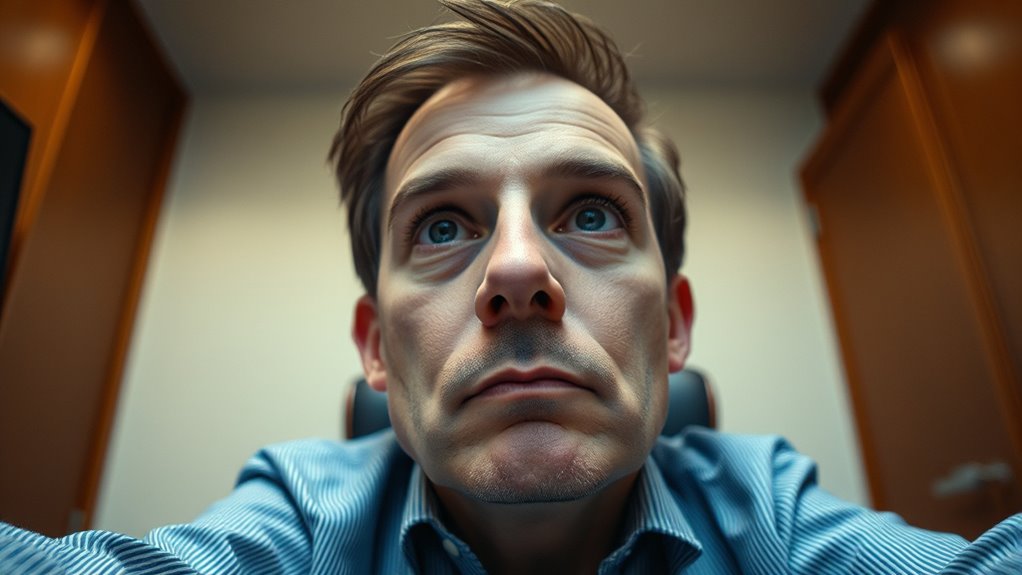
Your webcam’s angle can considerably influence how you’re perceived on camera. If it’s too high, you might look awkward or unflattering, with your chin appearing larger and your face distorted. A downward angle can cast unflattering shadows and make your neck look strange. Conversely, a low angle might make you seem intimidating or overly dominant, and it can also emphasize features you don’t want highlighted. The best approach is to position the camera at or just slightly above eye level. This creates a natural, balanced view, making you look more approachable and confident. Small adjustments in your camera angle can drastically improve your overall appearance, helping you appear more professional and engaging during video calls.
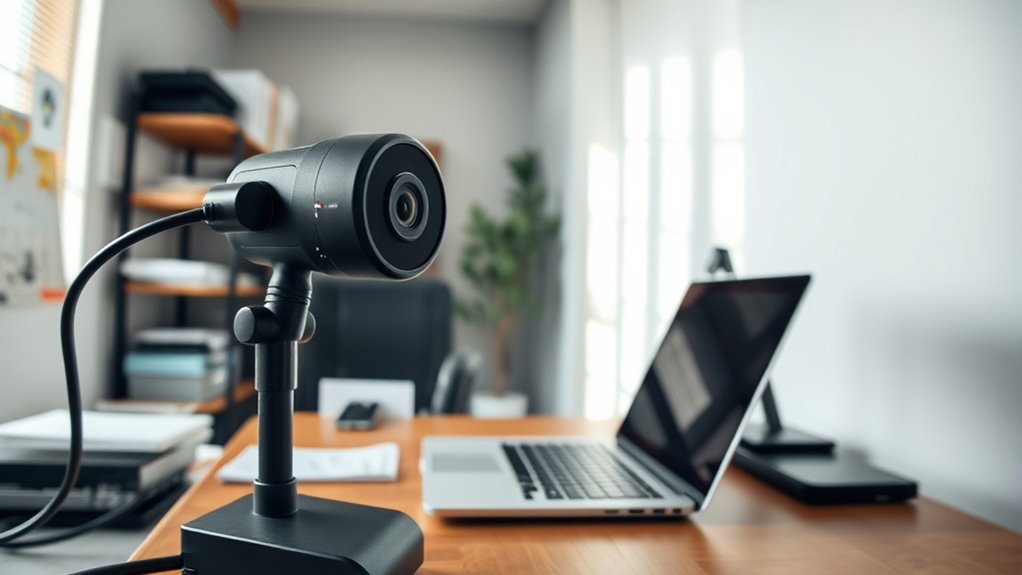
Tools and Accessories to Adjust Your Webcam Height
To get your webcam at the perfect height, you can use adjustable stands or desktop mounts. These accessories make it easy to position your camera exactly where you want it. Investing in the right tools can dramatically improve your video quality and appearance.
Adjustable Webcam Stands
Adjustable webcam stands are essential tools for achieving the perfect camera angle, especially when fixed mounts don’t offer enough flexibility. They allow you to easily change the height, tilt, and orientation of your webcam, ensuring you’re always in the best position for video calls or streaming. With a sturdy base and smooth adjustments, you can quickly adapt to different desk setups or lighting conditions. Many stands feature flexible arms or telescoping poles that expand or contract, giving you precise control over your camera’s height. They’re lightweight but stable enough to prevent wobbling or accidental slips. Investing in an adjustable stand simplifies your setup process and helps you maintain consistent, professional-looking video quality without constantly repositioning or fussing with fixed mounts.
Desktop Mount Options
When it comes to customizing your webcam height, desktop mount options provide practical solutions that are both easy to use and affordable. These mounts typically attach directly to your desk or sit on top, offering a stable platform for your camera. You can find adjustable clamps, weighted bases, or versatile arms that allow precise positioning. Some mounts feature flexible goosenecks or articulating arms, giving you full control over the camera angle and height. They’re compatible with most webcams and easy to set up without tools. Using a desktop mount guarantees your camera stays at eye level, enhancing your appearance during video calls or recordings. Plus, they help keep your workspace tidy by reducing clutter and preventing the camera from shifting accidentally.
Tips for Setting Up a Professional-Looking Webcam Shot
Creating a professional-looking webcam shot starts with proper lighting and framing. Position your camera at eye level to create a natural, engaging perspective. Use natural light or soft diffused lighting to illuminate your face evenly, avoiding harsh shadows. Keep your background tidy and uncluttered to maintain a professional appearance. Frame yourself with a bit of space above your head and ensure your eyes are roughly one-third from the top of the frame. Avoid extreme close-ups or wide shots; instead, aim for a balanced shot that shows your shoulders and face clearly. Test your setup before going live or recording, adjusting the camera angle and lighting as needed. These simple steps will help you project confidence and professionalism in every webcam appearance.
How Poor Camera Height Affects Lighting and Shadows
When your webcam is too high or low, it can block your light sources, making your face look poorly lit. This misalignment causes shadows to fall in unflattering spots and creates uneven facial illumination. Adjusting your camera height guarantees better light exposure and smoother shadows, improving your overall appearance.
Obscured Light Sources
Poor camera height can substantially obscure light sources, leading to unflattering shadows and uneven lighting on your face. When your webcam is too high or low, it blocks natural light or artificial lamps, causing shadows that distort your appearance. This misalignment makes your face look darker or unevenly lit, reducing clarity and professionalism. To illustrate, consider how different light positions affect your face:
| Light Source Position | Effect on Lighting | Shadows Created |
|---|---|---|
| Directly in front | Even, flattering | Minimal shadows |
| Above eye level | Harsh shadows | Under-eye shadows |
| Behind you | Backlighting | Silhouette, lost detail |
| Side lighting | Dramatic effect | Strong side shadows |
| Below face level | Unnatural glow | Shadows under chin |
Adjusting your camera height helps keep light sources in ideal positions, ensuring clear, well-lit video quality.
Unflattering Shadow Placement
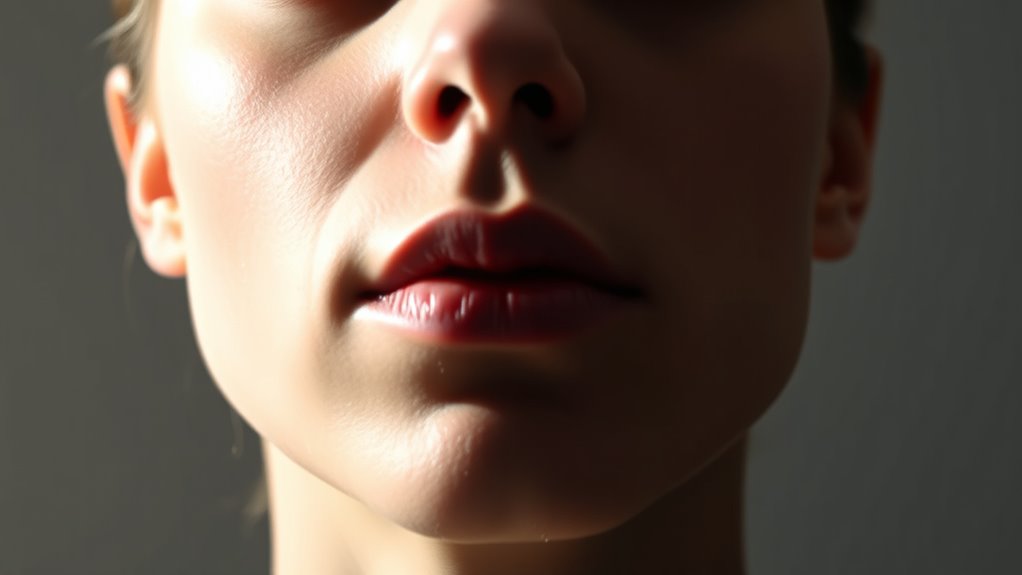
If your webcam isn’t positioned at eye level, it can cast unflattering shadows that distort your appearance. These shadows can create harsh lines under your eyes, nose, or chin, making you look tired or unprofessional. Poor camera height causes light sources to be blocked or unevenly distributed, resulting in shadowed areas that distract viewers.
- Shadows falling across your face instead of behind you
- Harsh lines that emphasize imperfections
- Inconsistent lighting that causes parts of your face to be hidden
- Shadows that make your face appear uneven or distorted
Adjusting your camera to eye level minimizes these shadow issues, ensuring your face is evenly lit and looks natural. Proper positioning improves your overall appearance and enhances your professional presence on camera.
Uneven Facial Illumination
Positioning your webcam too low or too high can cause uneven lighting across your face, resulting in areas that are overly bright or shadowed. When the camera is too low, overhead lights may cast harsh shadows under your eyes, nose, and chin, making your face look uneven. Conversely, a camera placed too high can cause your face to be underlit, creating dark areas that hide your features. This inconsistent lighting distracts viewers and makes you appear unprofessional. To fix this, aim to position your webcam at eye level, where natural light hits your face evenly. Proper camera height helps distribute light smoothly across your face, reducing shadows and bright spots, and ensuring you look clear and well-lit during your video calls.
Quick Fixes for Unflattering Webcam Angles
Adjusting your webcam angle can make a quick and noticeable difference in how you look on camera. The right tilt and position can reduce unflattering perspectives and highlight your best features. Start by elevating your camera to eye level, which prevents the “looking down” or “looking up” distortions. Avoid placing your webcam too high or too low, as this can create awkward angles. Experiment with small adjustments until your face is centered and well-framed.
Consider these quick fixes:
- Use a stack of books or a stand to raise your webcam.
- Tilt the camera slightly downward for a natural view.
- Keep the lens facing straight at your face.
- Check your background for distractions that might emphasize unflattering angles.
The Relationship Between Camera Height and Background Visibility
When you raise your webcam to eye level or higher, it not only improves your facial appearance but also influences what background details are visible. A higher camera angle reduces the chance of capturing clutter or distracting objects behind you, creating a cleaner, more professional look. It also helps you avoid showing parts of your desk or floor that might seem unappealing. By positioning the camera at eye level, you control what the viewer sees, emphasizing your face and upper body while minimizing unnecessary background elements. This setup makes your environment appear intentional and tidy. Ultimately, adjusting your camera height improves both your image and the background’s visibility, making your video calls look more polished and focused.
When to Seek Professional Help for Webcam Setup

If your webcam images are consistently blurry or pixelated, it might be time to seek professional help. Technical issues like poor lighting or hardware malfunctions can also be tricky to fix on your own. When these problems persist despite troubleshooting, consulting a specialist can ensure ideal setup and image quality.
Recognizing Poor Image Quality
Recognizing poor image quality can be straightforward when your webcam produces blurry, grainy, or poorly lit images that hinder your communication. If your video appears pixelated, dim, or inconsistent, it’s a sign your setup might need professional attention. You should also consider seeking help if your background is hard to see, or if your image flickers or freezes frequently. These issues often stem from improper positioning, lighting, or outdated equipment.
- Blurry or pixelated visuals despite good internet speed
- Poor lighting causing shadows or overexposure
- Frequent flickering or freezing during calls
- Background details are difficult to distinguish
Identifying Technical Difficulties
Sometimes, despite adjusting your lighting and ensuring a steady internet connection, your webcam still produces poor quality images. If you notice persistent blurriness, flickering, or inconsistent focus that doesn’t improve with simple tweaks, it’s a sign of technical issues. Check if your webcam’s drivers are up to date; outdated software can cause image problems. Test the camera on different applications to see if the issue persists across platforms. If your camera appears grainy, frozen, or fails to recognize your device altogether, it’s time to contemplate technical troubleshooting. Hardware malfunctions, damaged lenses, or faulty connections can also cause poor image quality. When you’ve exhausted basic adjustments and still face these issues, seeking professional help or replacing the device might be necessary.
When to Consult a Specialist
When your webcam continues to produce poor quality images despite troubleshooting efforts, it’s time to contemplate consulting a specialist. A professional can identify underlying issues you might overlook, such as hardware defects or complex setup problems. Consider seeking help if you notice persistent problems like blurry images, inconsistent focus, or poor lighting despite adjustments. A specialist can also advise on ideal camera placement and lighting solutions tailored to your space. They can ensure your equipment is correctly installed and calibrated for the best results. If you’ve tried troubleshooting multiple times without success or if your setup involves advanced configurations, professional guidance becomes essential.
- Persistent image quality issues despite troubleshooting
- Hardware or focus problems that resist adjustments
- Complex or specialized camera setups
- Need for customized lighting or positioning advice
Frequently Asked Questions
Can Webcam Height Influence Audio Quality During Calls?
Webcam height doesn’t directly influence your audio quality, but it can affect how you sound indirectly. When your camera is too high or low, you might lean in or shift position to stay visible, which can cause inconsistent microphone distance. This variation can lead to fluctuating audio levels or background noise. To maintain good audio, focus on keeping your microphone at a consistent distance and position, regardless of your camera height.
What Are the Best Adjustable Mounts for Different Desk Setups?
Think of adjustable mounts as the chameleons of your desk setup—they adapt effortlessly. You should look for versatile options like clamp mounts, flexible arm mounts, and magnetic mounts, which easily fit various desk thicknesses and configurations. Brands like Neewer or Elgato offer sturdy, easy-to-adjust mounts. Choose one that matches your workspace, ensuring your webcam stays perfectly positioned, so you look sharp and professional during every call.
How Does Camera Height Affect Eye Contact With Viewers?
When your camera is too high or too low, it disrupts eye contact with viewers, making you seem disconnected or unengaged. If the camera is placed at eye level, you appear more confident and approachable, creating a natural connection. Adjust the height so your eyes are in the top third of the frame, and look directly into the lens. This helps you engage viewers better and fosters trust during your presentation.
Are There Specific Webcams Better Suited for Adjustable Height Setups?
Yes, some webcams are better suited for adjustable height setups. Look for models with versatile mounting options, flexible arms, and adjustable stands that let you position the camera at eye level easily. Features like 360-degree rotation, height adjustments, and sturdy clamps make a big difference. You want a webcam that adapts to your space, enhances your posture, and improves your eye contact, making your videos look professional and engaging.
How Often Should I Re-Evaluate My Webcam Positioning for Optimal Quality?
You should re-evaluate your webcam positioning whenever your setup changes or you notice a decline in video quality. Ideally, check it weekly or before important calls to guarantee it’s aligned correctly at eye level. Adjust the height if you move your chair or desk, and make sure your face remains centered and well-lit. Regularly reassessing keeps your video sharp and professional, preventing awkward angles or poor lighting from affecting your impression.
Conclusion
Getting your webcam height right isn’t just a small detail — it’s the foundation for looking professional and confident. When you align your camera properly, everything else falls into place, including lighting and background. Remember, it’s about more than just getting your face in frame; it’s about making a great impression. Don’t overlook this simple fix, or you might find yourself fighting an uphill battle. Sometimes, a small change can make all the difference.