
To set up a one cable system, you start by guaranteeing your device’s power needs match the correct power source, using the recommended adapter and secure connection. Then, link video, audio, and data transfer cables—like HDMI, DisplayPort, or USB-C—matching ports precisely. Organize and secure cables properly to prevent hazards. Finally, test all connections for proper function. Keep in mind, mastering each step ensures a seamless flow, and there’s more to discover if you continue exploring.
Key Takeaways
- Ensure the power supply matches device voltage and current specifications, and connect securely to a grounded outlet.
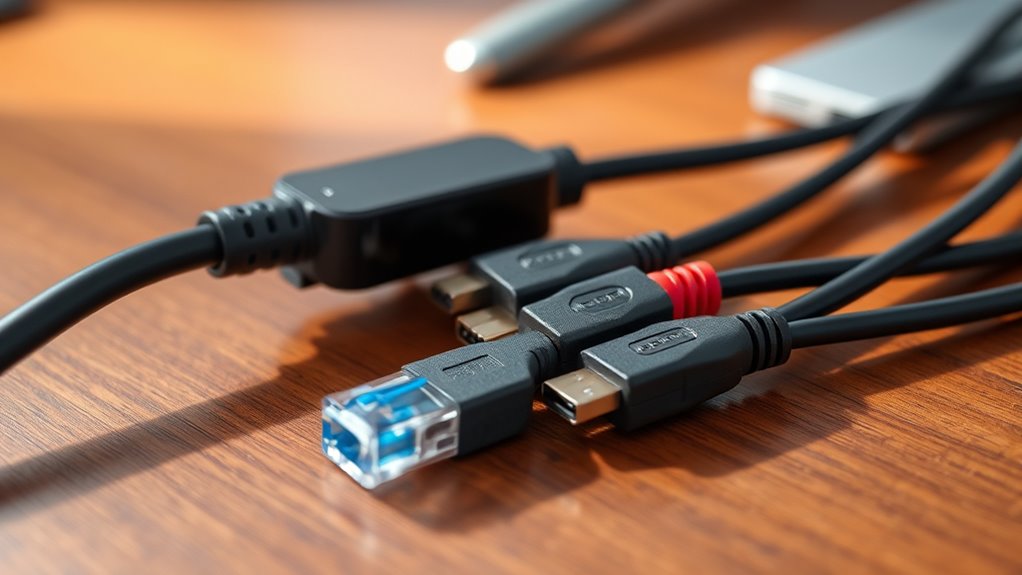
- Link video, audio, and data transfer cables properly, matching ports like HDMI, DisplayPort, or USB for compatibility.
- Organize peripheral cables with correct types and secure routing to prevent damage or interference.
- Use fastening techniques like cable ties or clips to secure connections and prevent disconnections.
- Power on devices, verify connections, and test functions to confirm proper setup and operation.

Ubluker 10K 8K 4K HDMI Cable 48Gbps 6.6 FT, Certified Ultra High Speed HDMI® Cable 4K 240Hz 144Hz 120Hz 8K60Hz 0.01ms HDR10+ eARC HDCP2.3 Netflix Roku TV PC Monitor Projector PS5 Xbox
Certified HDMI Cable: The package has an official HDMI certification label. HDMI Officially Certified Fully compliant with the…
As an affiliate, we earn on qualifying purchases.
As an affiliate, we earn on qualifying purchases.
Understanding Your Device Power Needs
Understanding your device’s power needs is essential to guarantee it operates correctly and safely. You need to identify the voltage and current your device requires to avoid damage or malfunction. Check the manufacturer’s specifications, usually found on a label or in the user manual. Using a power supply with the wrong voltage can cause overheating or electrical failure, while insufficient current can lead to performance issues. If your device has specific power adapters, always use the recommended one. Remember, more power isn’t always better—exceeding specifications can be dangerous. Ensuring compatibility helps protect your device and prolongs its lifespan. Taking the time to understand these needs saves you from potential troubleshooting and costly repairs later on.

VJYUIJAY Universal 65W USB C Laptop Charger Compatible with HP chromebook Lenovo Dell Acer Asus Samsung Google Computer Type C Power AC Adapter
USB C Laptop charger:Watt: 65W 45W Input :100-240V 1.5A 50-60Hz Output:5V-3A or 9V-3A or 15V-3A or 20V -3.25A,Connector:USB…
As an affiliate, we earn on qualifying purchases.
As an affiliate, we earn on qualifying purchases.
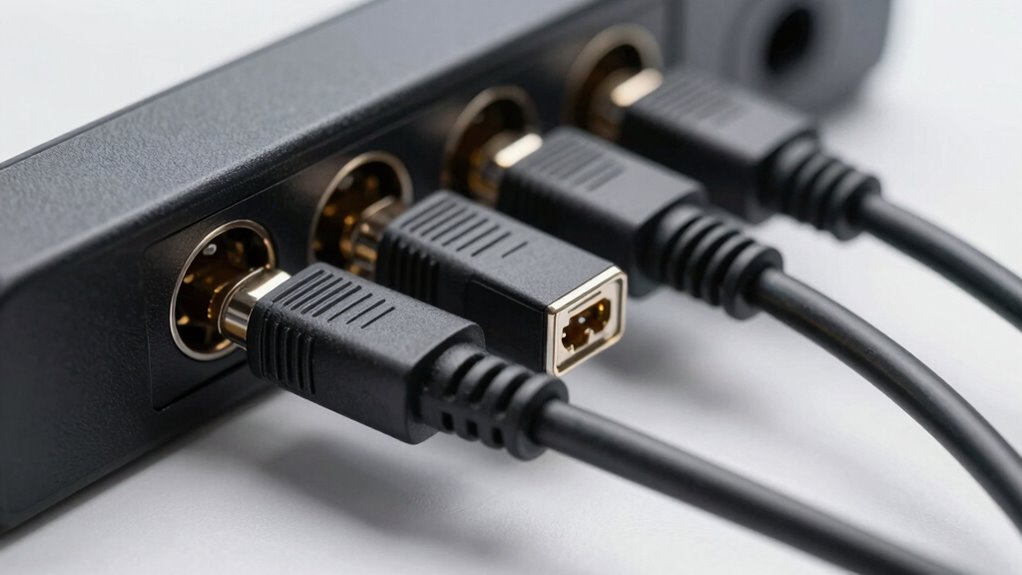
Connecting the Power Source Properly

Make certain you choose the right power outlet to avoid overloads, and always verify that your cable is oriented correctly before plugging in. A secure connection ensures stable power flow and prevents accidental disconnections. Taking these simple steps helps keep your setup safe and reliable.
Correct Power Outlet Choice
Have you ever connected a device only to find it won’t turn on or behaves erratically? The right power outlet makes all the difference. First, verify you’re plugging into a grounded outlet with a stable voltage. Avoid extension cords or daisy-chaining multiple devices, as they can cause power fluctuations or overloads. Choose an outlet close to your device to minimize cable stress and prevent accidental disconnections. If possible, use a dedicated outlet for your setup to avoid interference from other appliances. Check that the outlet is in good condition—no loose connections, scorch marks, or frequent tripping of circuit breakers. A reliable power source ensures your device receives consistent power, reducing performance issues and protecting your equipment from electrical damage. Proper outlet choice is essential for a stable, safe setup.
Proper Cable Orientation
Once you’ve selected a proper outlet, guaranteeing the cable is oriented correctly when connecting your device is equally important. Check the cable’s connector and the port for alignment. Many cables are designed with a specific shape or keying to prevent incorrect insertion. Gently insert the connector, making sure it slides in smoothly without forcing it. Avoid twisting or bending the cable excessively during connection, as this can damage the internal wires or the connector itself. Confirm that the connection feels secure but not forced. Proper orientation ensures good contact, reduces wear, and minimizes the risk of connection issues down the line. Taking these steps helps maintain ideal power flow and extends your cable’s lifespan, keeping your device powered safely and reliably.
Secure Connection Firm
To guarantee a secure and reliable connection, you should firmly insert the cable into the power source until it clicks or feels snug. This ensures the plug is fully engaged, reducing the risk of accidental disconnection or poor contact. Avoid forcing the plug, as excessive pressure can damage the connectors. Check that the cable is straight and aligned correctly with the socket before inserting. Once connected, give it a gentle tug to confirm it’s secure—if it moves easily, reinsert until firmly in place. A firm connection ensures consistent power delivery and prevents interruptions that could harm your device. Remember, a properly secured cable not only keeps your setup stable but also prolongs the lifespan of your equipment.
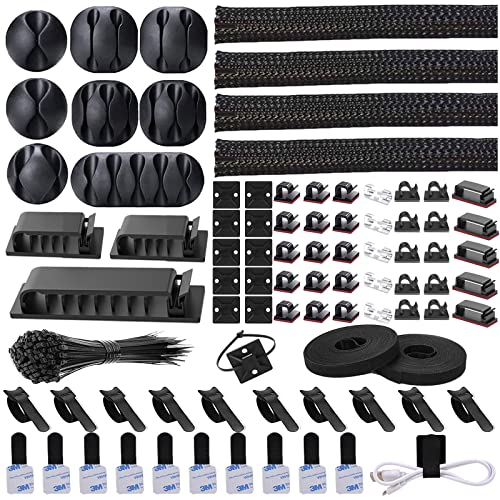
N NOROCME 192 PCS Cable Management Kit 4 Wire Organizer Sleeve,11 Cable Holder,35Cord Clips 10+2 Roll Cable Organizer Straps and 100 Fastening Cable Ties for Computer TV Under Desk, black,clear
Cable Management Kit: 4pcs Cable Sleeves( 20 in L x 0.4 in w), 20pcs reusable wire ties,35Cable Clips…
As an affiliate, we earn on qualifying purchases.
As an affiliate, we earn on qualifying purchases.
Linking the Video Output to the Display
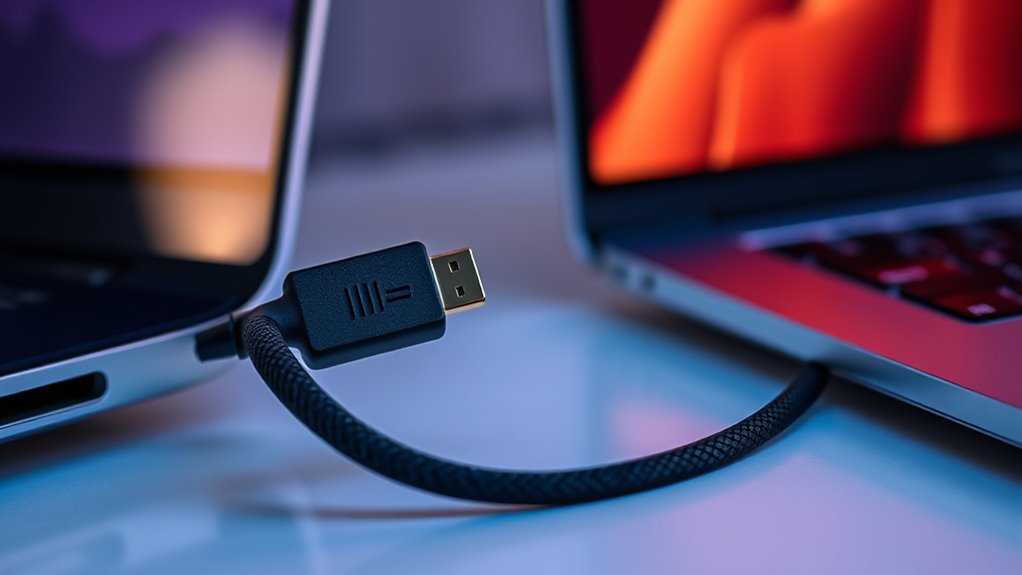
To connect your video output to the display, you’ll need to understand the available connection types and verify they’re compatible. Some devices use HDMI, while others might require DisplayPort or VGA, so check what your equipment supports. Making sure the signals match prevents issues like poor quality or no image at all.
Connection Types
Choosing the right connection type is essential for guaranteeing your video output looks sharp and functions smoothly. Different connection types, like HDMI, DisplayPort, VGA, or DVI, offer varying levels of quality and compatibility. HDMI is the most common, supporting high-definition video and audio over a single cable, making it ideal for most setups. DisplayPort is similar but often used for higher resolutions and refresh rates, perfect for gaming or professional work. VGA and DVI are older options and usually provide lower image quality, but they can still work if your display or device lacks modern ports. Consider your display’s available ports, the resolution you need, and the cable’s quality when choosing the right connection type to guarantee optimal performance.
Signal Compatibility
Ever wondered if your video output will properly display on your monitor? Ensuring signal compatibility is essential. You need to match your device’s output format with your display’s input capabilities. Check your graphics card’s supported resolutions and refresh rates, then compare them to your monitor’s specifications. If they don’t align, you might experience issues like flickering, black screens, or no signal at all. Some cables and adapters can also limit signal quality, so choosing the right ones matters. Modern connections like HDMI and DisplayPort usually handle multiple formats seamlessly, but older connections like VGA or DVI might require adjustments. Confirming compatibility before setup saves you time and prevents frustration, ensuring your display works perfectly with your video output.

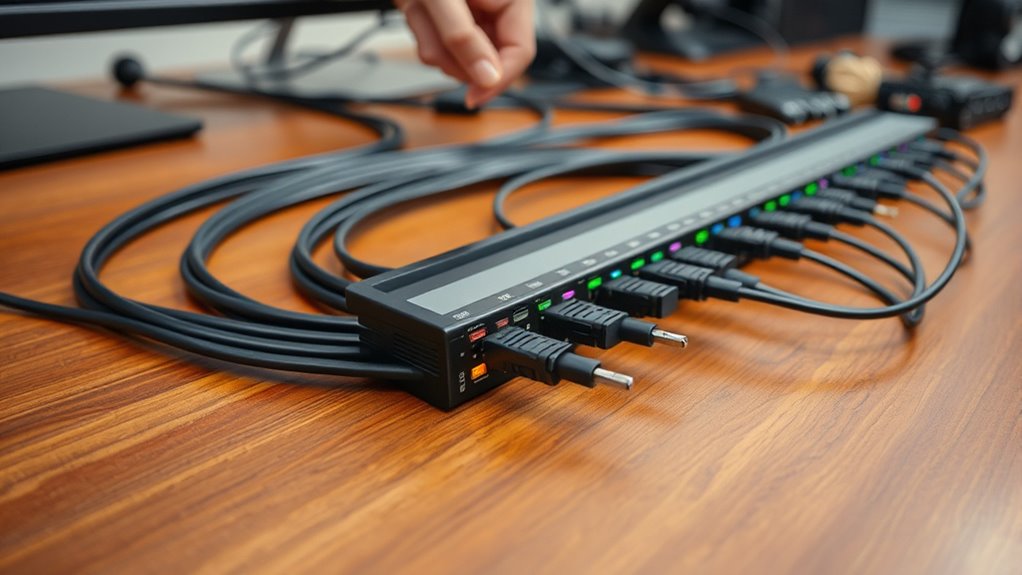
6 Ft Surge Protector Power Strip – 8 Widely Outlets with 4 USB Ports, 3 Side Outlet Extender with 6 Feet Extension Cord, Flat Plug, Wall Mount, Desk USB Charging Station, ETL,White
【4+4 Outlets Power Strip with 4 USB Ports】- The 3-side power strip with 8AC widely outlets and 4…
As an affiliate, we earn on qualifying purchases.
As an affiliate, we earn on qualifying purchases.
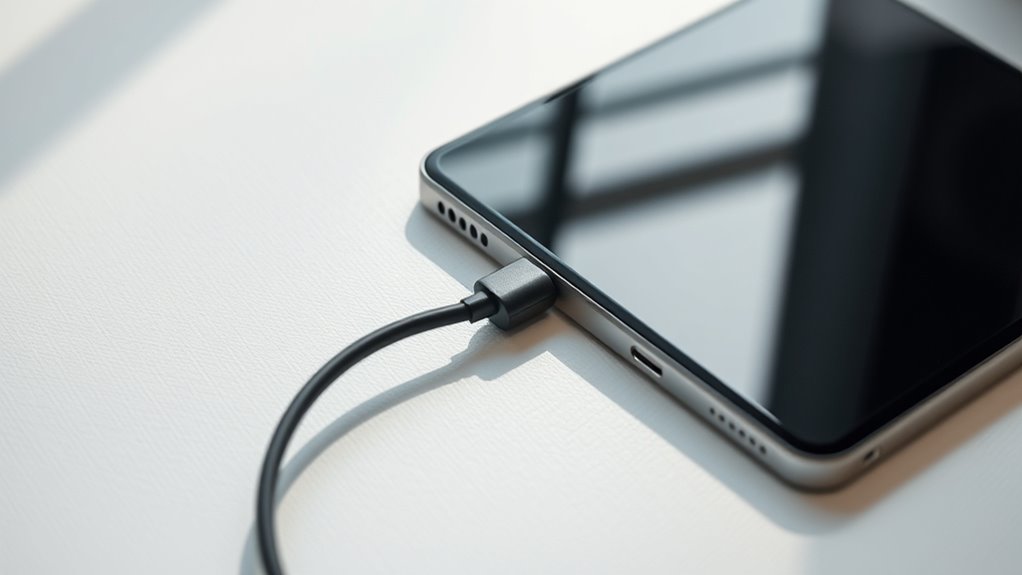
Establishing Data Transfer Connections
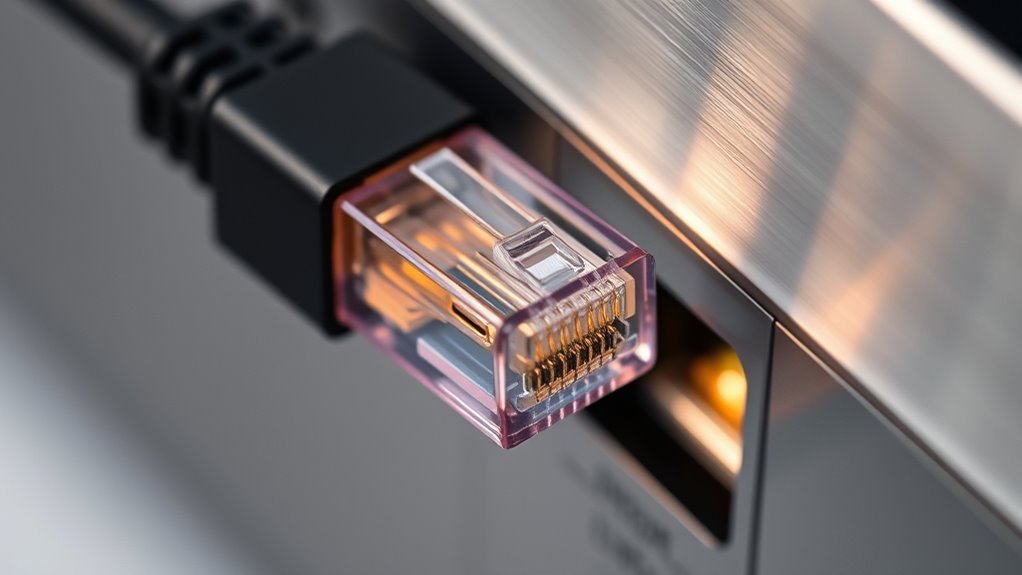
Establishing data transfer connections is a critical step in setting up your cable system, ensuring that devices communicate efficiently. First, identify the appropriate ports on both devices, often labeled as USB, Ethernet, or Thunderbolt. Connect the cable securely into these ports, making sure the connection is snug and stable. Once connected, power on both devices and verify their recognition of the connection. You might need to install drivers or software updates to enable seamless data transfer. Always test the connection by transferring a small file or running a diagnostic tool to confirm functionality. Avoid loose connections or incompatible ports, as these issues can interrupt communication. Properly establishing this link guarantees your devices will share data smoothly, paving the way for reliable, high-speed interactions.
Configuring Audio and Video Signal Paths
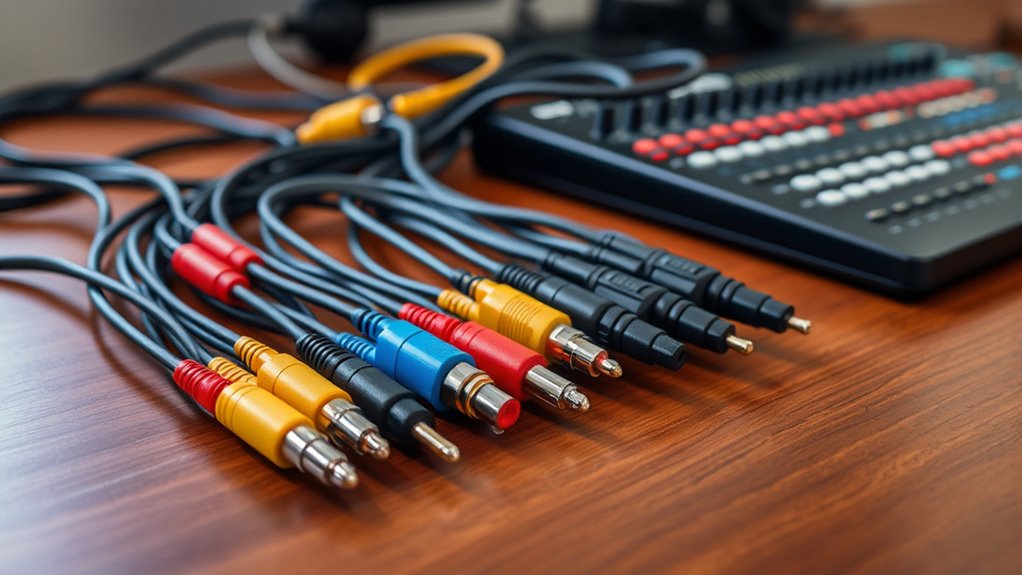
After securing your data transfer connections, you can focus on setting up the audio and video signal paths. Begin by connecting your audio source to the receiver or amplifier using the appropriate cable, such as HDMI or optical. Confirm the connection is secure and the correct input is selected on your audio device. For video, connect your media player or computer to the display, again using the right cable—preferably HDMI for high-quality signals. Check that your display recognizes the input source; you might need to select it manually. Verify all connections are tight and compatible. Adjust the settings on your devices if necessary, such as resolution or audio output preferences. Properly configuring these paths guarantees excellent audio and video quality, creating a seamless viewing and listening experience.
Integrating Peripheral Devices and Accessories

To effectively integrate peripheral devices and accessories, you need to connect each component properly and guarantee compatibility with your main system. First, identify the ports and connectors on both your device and peripherals. Use quality cables suited for each connection, assure data transfer and power needs are met. To visualize, think of your setup like this:
| Peripheral Device | Connection Type |
|---|---|
| External Hard Drive | USB-C, Thunderbolt |
| Webcam | USB-A, USB-C |
| Printer | USB, Ethernet |
| Headphones/Speakers | 3.5mm jack, Bluetooth |
Matching these peripherals with the correct ports prevents issues and improves performance. Always verify compatibility before connecting to avoid potential conflicts or device failure. Proper integration guarantees your setup remains seamless and efficient.
Managing Cable Organization and Safety
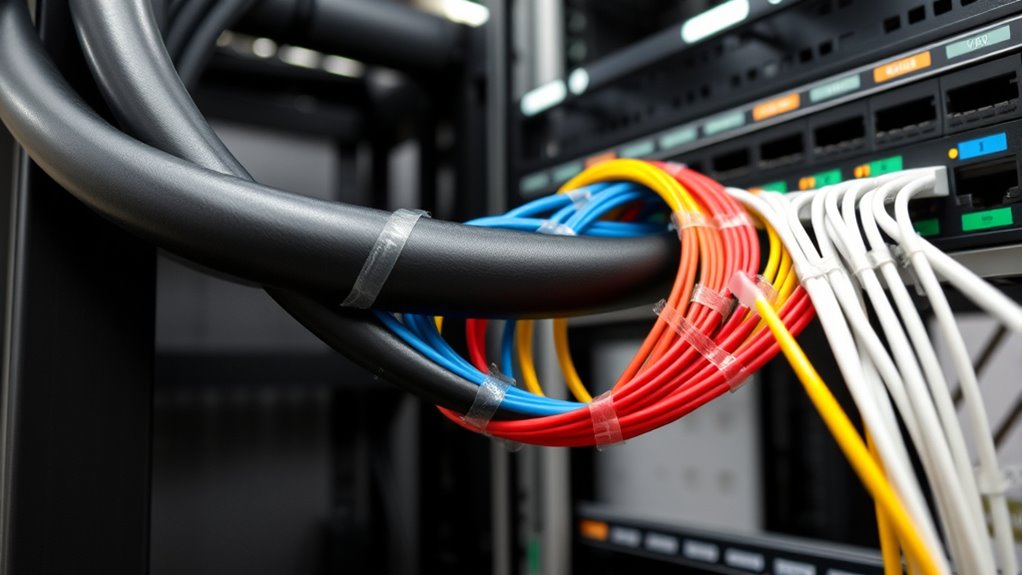
To keep your setup safe and organized, focus on proper cable routing to prevent tangles and damage. Use secure fastening techniques like clips or ties to hold cables in place, reducing the risk of accidents. Always check for electrical hazards, ensuring cables are not frayed or overloaded to avoid potential dangers.
Proper Cable Routing
Proper cable routing is essential for maintaining a safe and organized setup. Start by planning your cable path before connecting anything. Keep cables away from high-traffic areas to prevent tripping hazards. Use natural routes along walls or corners to minimize clutter. Avoid sharp bends, which can damage the cable’s internal wires, and ensure there’s enough slack to prevent tension. Keep cables off the floor whenever possible, using clips or cable channels to secure them neatly along surfaces. Label cables if you need to disconnect and reconnect frequently. Proper routing reduces the risk of accidental disconnection or damage, prolongs cable life, and makes troubleshooting easier. Taking the time to route cables carefully ensures your setup remains safe, clean, and efficient.
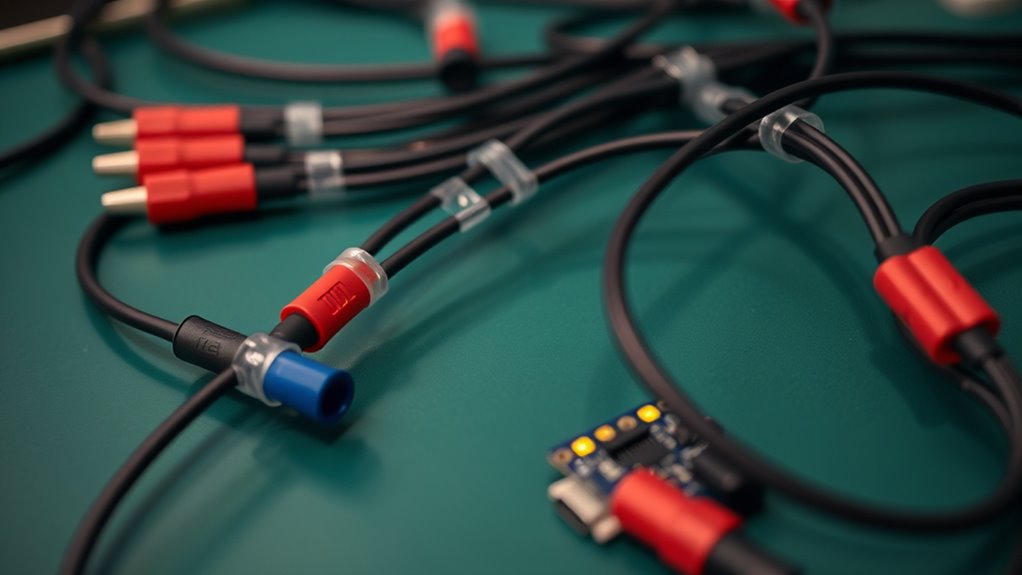
Secure Fastening Techniques
Secure fastening techniques guarantee that your organized cable setup remains safe and reliable over time. Use cable ties or Velcro straps to bundle cables neatly, preventing tangles and accidental pulls. Attach cables securely to walls, desks, or cable management panels with clips or adhesive mounts to keep them in place. Avoid over-tightening, which can damage cables or connectors. Regularly check fastenings to ensure they haven’t loosened, especially in high-traffic areas. Label cords with tags or markers for easy identification and reorganization. Proper fastening minimizes stress on connectors, reducing wear and tear. Always choose fasteners compatible with your cables and surface material. Consistent, secure fastening not only keeps your setup tidy but also extends the lifespan of your cables and maintains safety.
Preventing Electrical Hazards
Managing cable organization is essential for preventing electrical hazards in your setup. When cables are tangled or scattered, they can cause tripping risks, short circuits, or overheating. Always keep cables neatly bundled using cable ties or sleeves, and avoid overloading power strips. Check cords regularly for signs of wear, fraying, or damage, and replace any compromised cables immediately. Make sure all connections are secure to prevent accidental disconnections or sparks. Keep cables away from water, heat sources, and sharp objects to reduce risks. Properly labeled cables help you identify and troubleshoot issues quickly, minimizing downtime and hazards. By maintaining a tidy and well-organized setup, you markedly reduce the chances of electrical accidents and ensure a safer environment.
Testing the Entire Setup for Functionality
Before you start using your setup regularly, confirming that everything works correctly is vital. Begin by powering on your device and checking the connection indicators. Make certain that the cable links your components seamlessly, and verify that data or power flows without interruptions. Test each function your setup is supposed to perform, such as video display, audio output, or charging, depending on your configuration. Use any built-in diagnostic tools or simply observe the system’s behavior. If you notice any issues, double-check all connections and make sure they’re secure. Verify that your devices recognize each other and respond properly. Running these tests helps identify potential problems early, saving you time and preventing frustration during regular use. Once everything functions smoothly, you’re ready to enjoy your streamlined setup.
Troubleshooting Common Connection Issues
When you encounter connection issues, it’s important to methodically identify the problem before making any adjustments. First, check that all cables are securely plugged in, especially at connection points. Look for visible damage or bent connectors that could disrupt signals. Restart your devices—sometimes a simple reboot resets the connection. Verify that your cable is compatible with your devices and supports the required data transfer speeds. If the connection is slow or unstable, try swapping out the cable with a known-good one to rule out faults. Also, ensure your device settings are correct, such as input/output modes and network configurations. If issues persist, disconnect and reconnect components, and consult device manuals for troubleshooting tips. This systematic approach helps pinpoint the root cause efficiently.
Maintaining and Updating Your Cable Setup
Regularly maintaining and updating your cable setup guarantees perfect performance and prevents potential problems. You should periodically check for loose connections, damaged cables, or signs of wear. Keeping your setup clean helps avoid dust buildup that can cause signal issues. Additionally, updating your cables or connectors ensures compatibility with new devices and technology. Here’s what to focus on:
- Inspect all connections for tightness and signs of damage.
- Clean connectors and ports carefully to remove dust or debris.
- Replace outdated or frayed cables to maintain ideal signal quality.
Frequently Asked Questions
What Types of Cables Are Compatible With My Device Setup?
You can use HDMI, USB-C, or DisplayPort cables, depending on your device’s ports. Check your device’s specifications to ascertain which cables are compatible. HDMI is common for video and audio, USB-C handles data and power, and DisplayPort offers high-quality video. Make sure the cable supports the required resolution and refresh rate. Always choose high-quality, certified cables to guarantee reliable performance and avoid compatibility issues.
How Can I Optimize Cable Length for Better Performance?
Think of your cable as a garden hose; the shorter it is, the better the water flows. To optimize performance, choose the shortest cable that still reaches your device comfortably, avoiding unnecessary slack. Measure carefully, and opt for quality cables to prevent signal loss. When I replaced my long cable with a shorter one, my connection improved noticeably, proving that less is often more for reliable, high-quality performance.
Are There Specific Safety Precautions for Cable Management?
Yes, you should always check for proper insulation and avoid over-tightening clamps to prevent damage. Keep cables away from heat sources and moisture to reduce risks. Use cable ties neatly to prevent tripping hazards, and guarantee cables aren’t stretched or pinched. Regularly inspect your setup for wear or fraying, and disconnect power before handling or adjusting cables. Following these precautions keeps your workspace safe and your cables functioning correctly.
How Do I Identify Faulty Cables Quickly?
Pinpoint problematic cables promptly by performing a simple sweep. Start by inspecting for visible damage like frays or scorch marks. Next, gently wiggle the cable to check for loose connections or interruptions. Use a cable tester to verify continuity and identify faults accurately. Trust your senses—listen for crackling or buzzing sounds, feel for overheating, and observe signal disruptions. Quick, cautious checks help prevent future failures and guarantee your setup stays secure.
Can I Use Adapters to Connect Different Device Types?
Yes, you can use adapters to connect different device types, but make sure they’re compatible. Check the ports and standards each device supports, like HDMI, USB, or DisplayPort. Use reliable adapters to avoid signal loss or connectivity issues. Always verify the adapter’s specifications and reviews before purchasing. This way, you guarantee a smooth connection without damaging your devices or experiencing performance problems.
Conclusion
By following this precise cable setup, you guarantee your device runs smoothly and reliably. Did you know that improper cable connections can cause up to 30% of device malfunctions? Taking the time to organize, connect, and test your setup not only saves you time but also prolongs your equipment’s lifespan. Stay attentive to details, and your system will perform flawlessly every time, giving you seamless entertainment and productivity without the hassle.