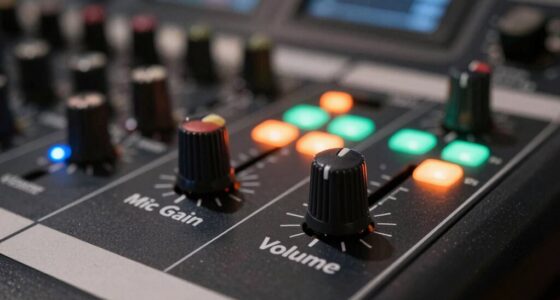
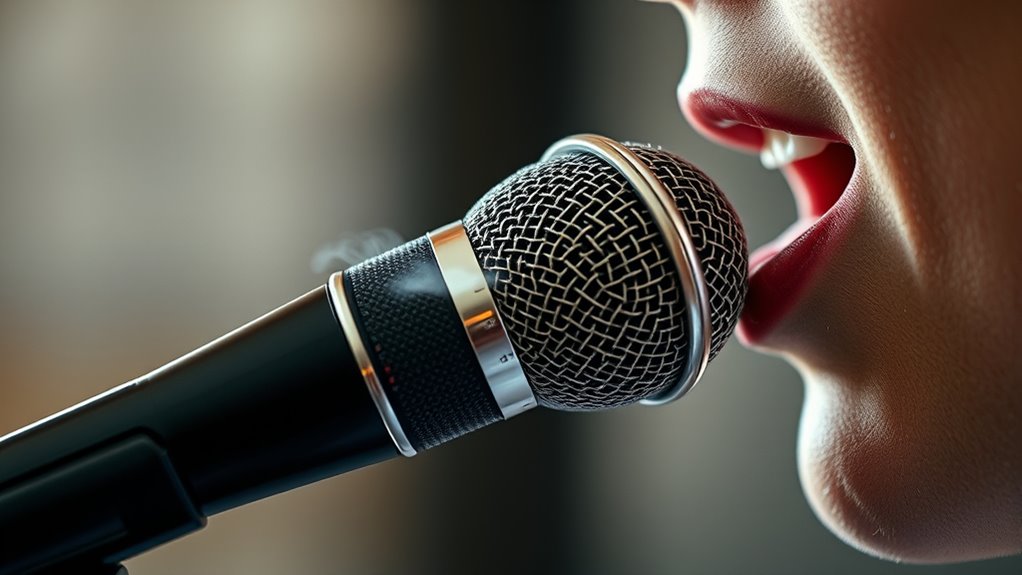
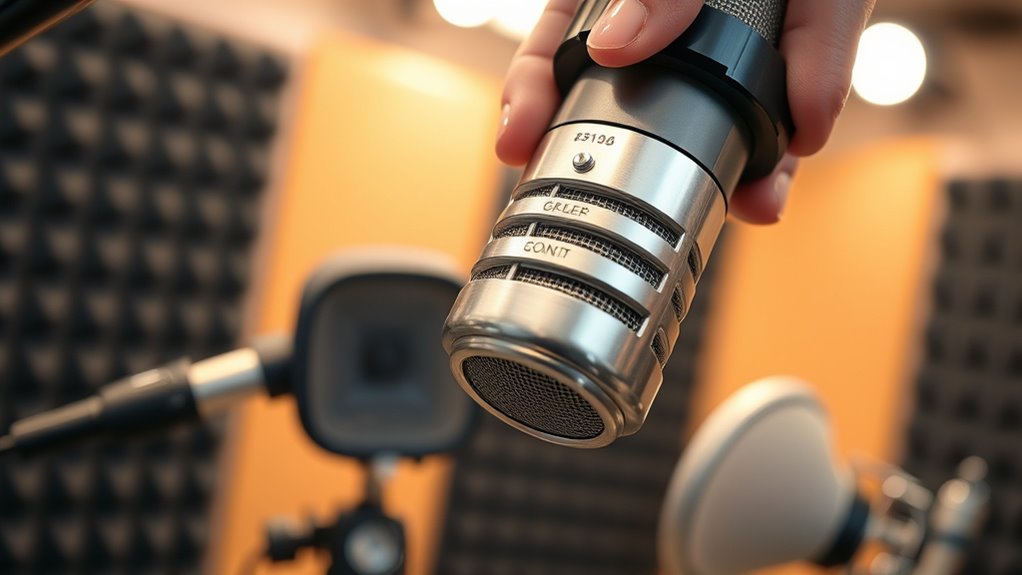
The key to great sound is paying attention to mic placement, often just inches difference making a huge impact. Keep your microphone at the right distance—about 6-12 inches for vocals—and adjust slightly to avoid muddiness or thinness. Experiment with angles and proximity to control warmth, clarity, and resonance. Small changes can really improve your tone and realism. Want to master these subtle shifts? Keep exploring for more tips.
Key Takeaways
- Microphone distance affects tone, clarity, and proximity effect, requiring precise positioning for natural, balanced sound.
- Closer placement boosts bass and warmth but risks muddiness and phase cancellation if too close.
- Using pop filters and small adjustments helps prevent plosives, breath noise, and unwanted resonance.
- Proper phase alignment and consistent distance across multiple mics ensure clear, interference-free recordings.
- Fine-tuning mic placement through incremental moves enhances sound quality and captures the instrument or voice’s full character.

Aokeo Professional Microphone Pop Filter Mask Shield For Blue Yeti and Any Other Microphone,Mic Dual Layered Wind Pop Screen With Flexible 360° Gooseneck Clip Stabilizing Arm
Double Layered Screen Pop Filters:The first screen blocks air blasts as any pop filter normally would; The gap…
As an affiliate, we earn on qualifying purchases.
As an affiliate, we earn on qualifying purchases.
Understanding the Basics of Microphone Types
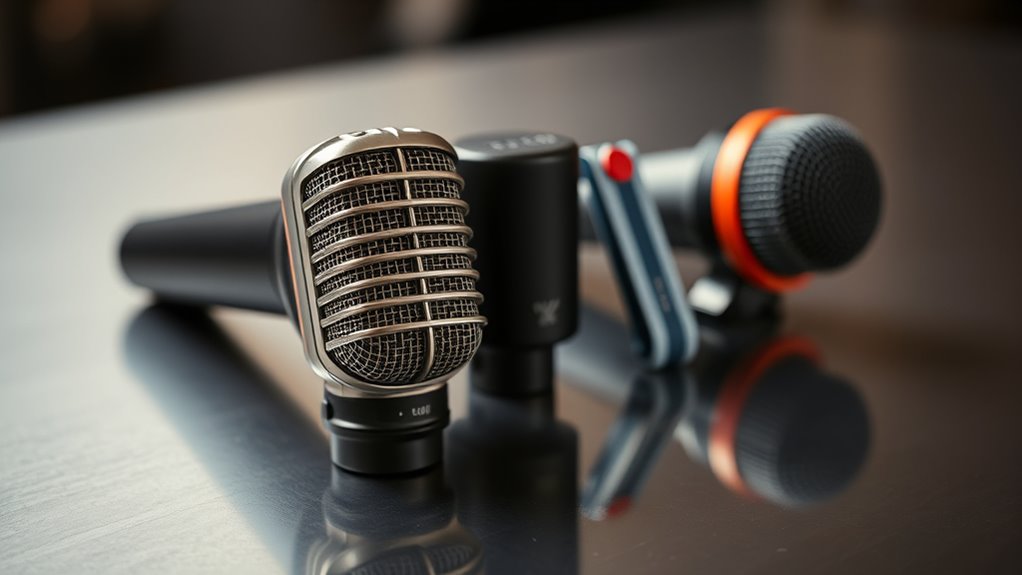
To choose the right microphone, understanding the different types available is essential. There are three main categories: dynamic, condenser, and ribbon microphones. Dynamic mics are durable, handle high sound pressure levels well, and are ideal for live performances and loud sources like drums or guitar amps. Condenser microphones are more sensitive, capturing detailed sound, making them perfect for vocals and studio recordings. Ribbon microphones offer a warm, vintage tone and are typically used in studio settings for vocals or instruments. Each type has unique characteristics that affect sound quality and application. Knowing these basics helps you select the best microphone for your needs, ensuring clear, accurate recordings or performances. Choosing the right type is the foundation for effective mic placement and overall sound quality.
Audio-Technica AT2020 Cardioid Condenser Studio XLR Microphone, Ideal for Project/Home Studio Applications, Black
The price/performance standard in side address studio condenser microphone technology
As an affiliate, we earn on qualifying purchases.
As an affiliate, we earn on qualifying purchases.
The Significance of Microphone Distance
The distance between your microphone and the sound source greatly affects the tone and clarity of your recording. Getting too close can boost bass frequencies but also cause unwanted phase cancellations, leading to a thin or boomy sound. Maintaining consistent distance helps make sure your sound remains balanced and clear across different takes.
Proximity Effects on Tone
As you move a microphone closer to a sound source, you’ll notice a noticeable change in tone due to the proximity effect. This phenomenon boosts bass frequencies, making sounds warmer and fuller. For vocals, this can add richness and intimacy, but it might also cause muddiness if overdone. Instruments like bass drums or electric guitars benefit from proximity, gaining punch and presence. However, too close positioning can exaggerate low-end boominess or cause unwanted rumble. Adjusting the distance helps you control this effect, shaping your sound to fit your mix. It’s essential to find a balance—getting close enough for warmth without losing clarity. By understanding how proximity influences tone, you can craft recordings that sound polished and intentional, enhancing your overall sound quality.
Phase Cancellation Risks
Moving microphones closer to a sound source can substantially enhance tone through proximity effects, but it also introduces the risk of phase cancellation. When two microphones pick up the same sound at different distances, their signals can interfere destructively, causing parts of the sound to diminish or disappear. This is especially a concern when recording multiple mics or blending different sources. If the sound waves reach each microphone at slightly different times, the resulting signals may be out of phase. When combined, these out-of-phase signals can cancel each other out, leading to a hollow or thin sound. To avoid this, you need to carefully manage microphone placement and monitor the phase relationship between sources during setup. Proper positioning helps preserve clarity and fullness in your recordings.
Consistency in Sound Capture
Maintaining consistent microphone distance is essential for achieving a uniform sound in your recordings. When you keep the same distance from your source, your recordings stay balanced, avoiding unwanted volume fluctuations or tonal changes. Moving the mic closer or farther away can dramatically alter the sound’s brightness, warmth, and clarity. To guarantee consistency, set a fixed position and stick to it throughout your session. Use visual markers or mounts to help maintain this distance. This practice not only produces a professional, cohesive sound but also simplifies post-production editing. Remember, small variations in distance can lead to noticeable differences in your recordings. By being mindful of your mic placement, you assure a steady, high-quality sound that remains consistent from start to finish.

Shure SM58-LC Dynamic Vocal Microphone – Professional Handheld Cardioid XLR Mic for Singing, Live Performance, Studio Recording, Podcast & Broadcast, Black
LEGENDARY VOCAL CLARITY: A finely tuned frequency response with subtle midrange lift delivers warm, articulate vocals that cut…
As an affiliate, we earn on qualifying purchases.
As an affiliate, we earn on qualifying purchases.
Positioning for Voice Recordings

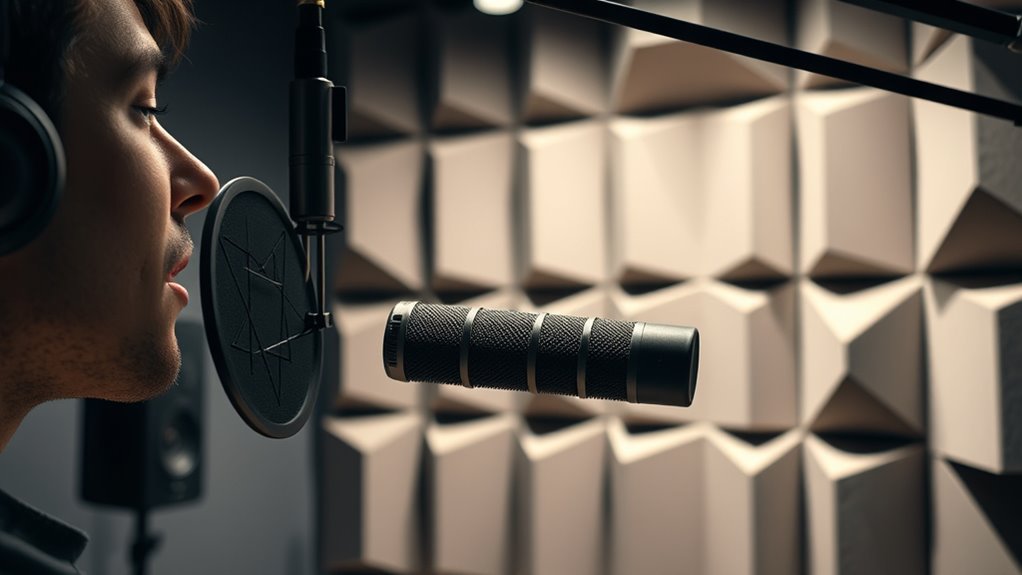
Your microphone should be positioned at an ideal distance to capture clear voice recordings without picking up unwanted noise. Pay attention to the angle you set, as it can considerably improve the clarity and warmth of your voice. Small adjustments in distance and angle can make a big difference in the overall quality of your recordings.
Optimal Distance Matters
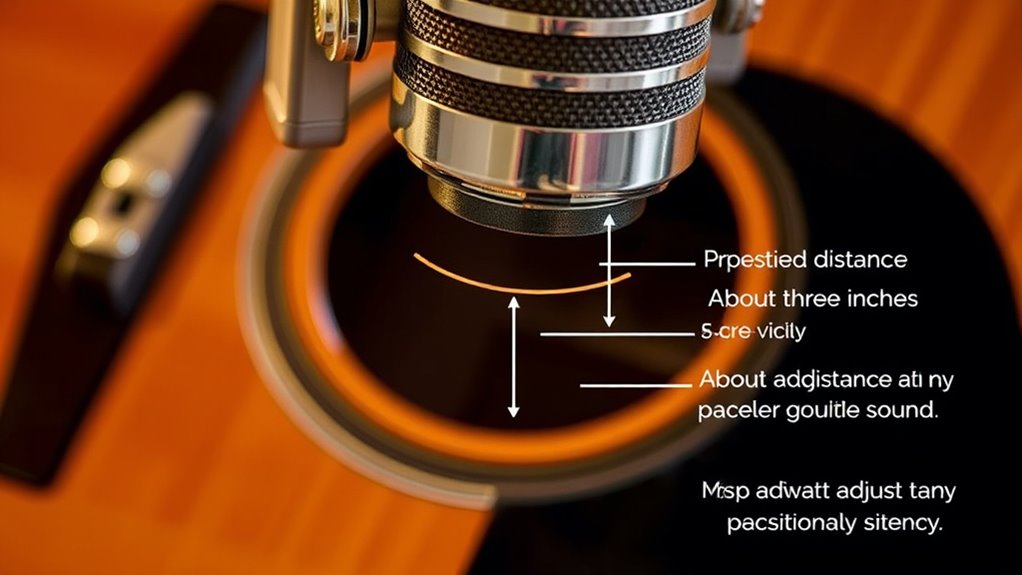
The distance between your microphone and your mouth plays a crucial role in capturing clear, professional-sounding voice recordings. If you’re too close, you risk distortion from plosive sounds and unwanted breath noise. Too far, and your voice may sound faint or dull, losing detail and presence. Finding the ideal distance ensures your voice is clear, warm, and well-balanced. Typically, placing the mic about 6 to 12 inches away works well, but this can vary based on the microphone type and your voice. Keep in mind:
- Maintain consistent distance to avoid volume fluctuations
- Use a pop filter to reduce plosives at close range
- Adjust distance if you notice distortion or a lack of clarity
Getting this right makes all the difference in your recording quality.
Angles for Clarity
Have you considered how the angle of your microphone affects your voice clarity? The way you tilt or position your mic can reduce unwanted noise and emphasize your tone. A slight tilt toward your mouth captures more direct sound, improving intelligibility. Conversely, pointing the mic away or at a steep angle can cause muffling or distant sound. Adjusting angles helps balance clarity and natural voice warmth.
| Angle | Effect on Clarity | Best For |
|---|---|---|
| Slight tilt | Clearer speech | Podcasts, vocals |
| Directly aimed | Max clarity | Voiceovers |
| Off-angle | Less noise | Background recordings |
| Steep tilt | Muffled sound | Ambient sounds |

YOUSHARES AT2020 Shock Mount, Microphone Shock Mount Reduces Vibration Noise for Audio Technica AT2020 AT2035 ATR2500 Condenser Mic
Professional Shockmount – Specially designed for AT2020, AT2020USB, AT2020USB+, AT2035 Microphone to reduce vibration. Reduce your audio editing…
As an affiliate, we earn on qualifying purchases.
As an affiliate, we earn on qualifying purchases.
Microphone Placement for Instruments
Proper microphone placement is essential to capturing the true sound of instruments and ensuring a balanced mix. You want to position your mic where it picks up the instrument’s tone without unwanted noise or distortion. For acoustic guitars, place the mic about 6-12 inches from the 12th fret, angled slightly toward the sound hole. When recording drums, focus on the snare or kick, using close miking techniques for punch. For electric guitars, experiment with placing the mic near the speaker cone’s edge or center to alter tone. Keep in mind the room’s acoustics and background noise.
- Position mics close for warmth and punch, farther for ambiance
- Use multiple mics for depth and texture
- Adjust angles to emphasize specific instrument qualities
Using Reflection and Absorption to Your Advantage
How you manage reflections and absorption can dramatically shape your recorded sound. By strategically placing your microphone, you control how much room ambiance and surface reflections are captured. Reflective surfaces like walls and ceilings can add depth and a sense of space, but too many reflections can muddy your sound. Absorptive materials, such as foam panels or blankets, reduce unwanted reverberation, resulting in a cleaner recording. To use this to your advantage, experiment with positioning near reflective surfaces for a lively feel or close to absorptive materials for a tighter, more focused tone. Adjusting these elements allows you to craft a sound that complements your instrument and desired style, giving you greater control over your recording’s clarity and ambiance.
Common Mistakes in Microphone Placement
One common mistake in microphone placement is placing the mic too close or too far from the source without considering the resulting sound. Being off by just a few inches can cause issues like distortion, muddiness, or a lack of clarity. When you place the mic too close, you risk capturing unwanted plosives, breathing noise, or exaggerated proximity effect. Conversely, positioning it too far can lead to a weak or distant sound, making your recording feel disconnected. To avoid these pitfalls, pay attention to the distance and positioning relative to the source. Here are some common errors to watch out for:
Placing your mic too close or too far can cause distortion, muddiness, or a distant sound.
- Ignoring the proximity effect by placing the mic too close or too far
- Not considering the acoustics of the environment
- Using the same placement for all sources without adjustments
Techniques for Achieving a Natural Sound
Achieving a natural sound with your microphone setup requires careful attention to placement and technique. Start by positioning the mic at a distance where it captures the full tone without picking up unwanted noise or exaggerating certain frequencies. For vocals, place the mic about 6 to 12 inches away, slightly off-axis, to reduce sibilance and plosives. Use a pop filter to soften harsh sounds. For instruments, listen closely and adjust the distance until the sound feels balanced and true to life. Keep your ears open for phase issues or unwanted resonance. Remember, small adjustments—like angling the mic or changing the distance—can make a big difference. The goal is to replicate the natural sound of the source without coloration or exaggeration.
Fine-Tuning With Small Adjustments
Fine-tuning your mic placement often involves making small, incremental adjustments to improve sound quality. These tiny shifts can make a big difference in capturing clear, balanced audio. Start by slightly moving the mic closer or farther from the source to find the sweet spot. Adjust the angle to reduce unwanted reflections or background noise. Listen carefully after each change to gauge the impact on tone and clarity.
Small mic adjustments can greatly improve sound clarity and tone.
- Experiment with angling the mic slightly up or down for better focus
- Use a shock mount or isolation to minimize vibrations
- Change the mic’s height for ideal proximity effect control
Frequently Asked Questions
How Does Room Acoustics Influence Mic Placement Choices?
Room acoustics considerably influence your mic placement choices because reflective surfaces and room size affect sound quality. You’ll want to position your mic away from walls and windows to reduce echoes and unwanted noise. Using portable absorbers or diffusers can help. By adjusting your mic’s distance and angle, you can minimize room noise and achieve a clearer, more balanced sound, ensuring your recordings or performances sound professional.
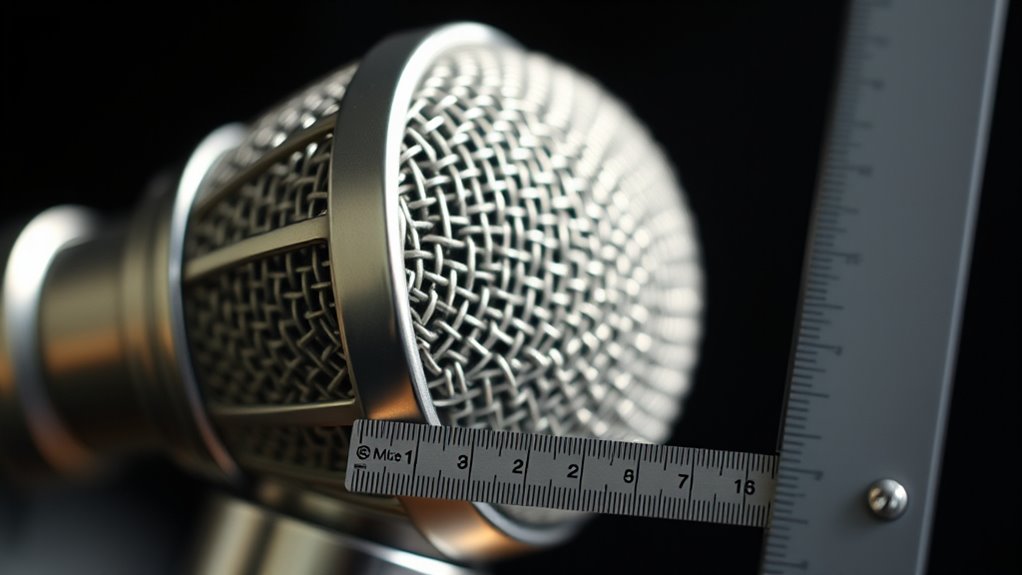
What Equipment Can Help Measure Optimal Microphone Distance?
You can use a laser distance meter or a digital caliper to measure ideal microphone distance precisely. These tools allow you to set and verify the exact placement, helping you achieve consistent sound quality. Plus, a sound level meter can help you monitor your recordings to guarantee you’re capturing the desired balance. By combining these devices, you’ll confidently find the perfect distance, adapting to room acoustics effortlessly.
How Do Different Microphone Polar Patterns Affect Placement?
Different microphone polar patterns affect placement by determining how much sound you capture from various directions. For example, cardioid mics focus on what’s directly in front, so keep them close to your source for clarity. Omnidirectional mics pick up sound equally around, so place them further away to avoid background noise. Bidirectional mics capture what’s in front and behind, ideal for interviews. Adjust placement based on the pattern to optimize sound quality.
Can Mic Placement Techniques Vary for Live Versus Studio Recordings?
Mic placement techniques are like tailoring a suit—you need to adjust based on the setting. For live recordings, you position the mic closer to minimize background noise and capture the energy. In the studio, you have more freedom to experiment with distance and angles for clarity and tone. You adapt your approach to get the best sound, just as a tailor adjusts a suit to fit perfectly.
What Are Advanced Tools for Analyzing Mic Positioning Effectiveness?
You can use advanced tools like spectrum analyzers, polar pattern plots, and real-time audio analysis software to evaluate mic positioning effectiveness. These tools help you visualize frequency response, polar patterns, and phase relationships, enabling precise adjustments. By analyzing your recordings with these tools, you gain insights into how mic placement impacts sound quality. This approach allows you to optimize your setup for both clarity and balance, ensuring professional results every time.
Conclusion
Mastering mic placement can boost your sound quality by up to 50%, according to industry studies. Small adjustments in inches can make a huge difference in clarity and tone. Remember, experimenting with distance and angle helps you find that perfect spot. Don’t be afraid to fine-tune your setup—sometimes, just a tiny shift is all it takes to transform your recordings from good to great. Keep practicing, and you’ll consistently capture professional-quality sound.