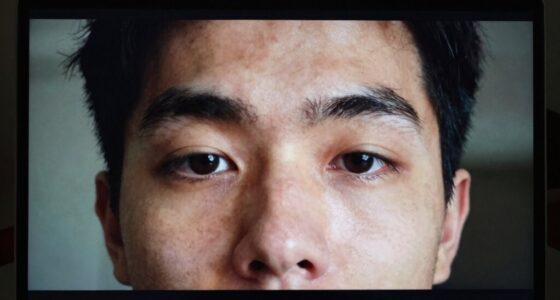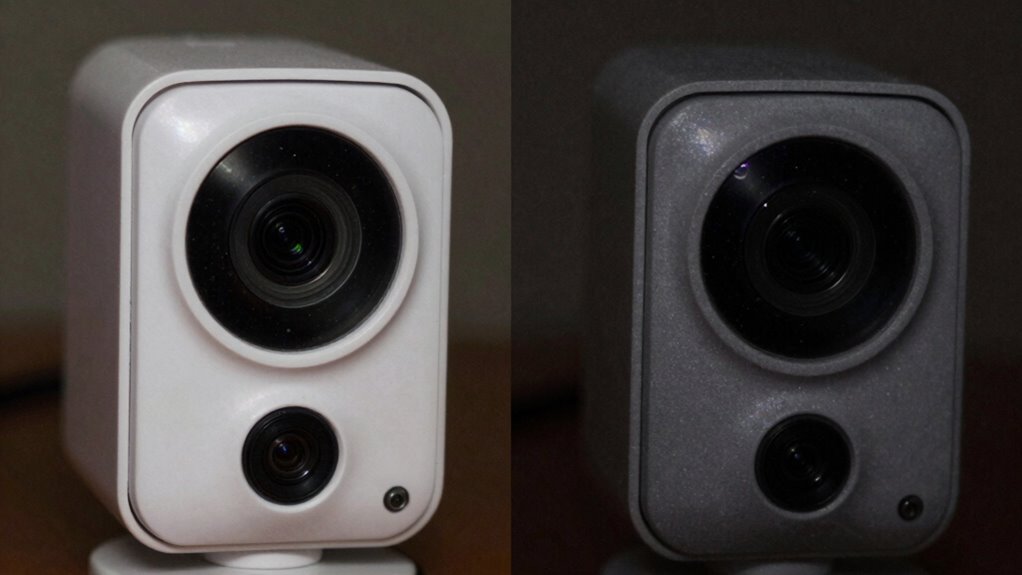

The key to telling a good webcam from a bad one is how well your lighting is set up. No matter how expensive or high-tech the camera, poor lighting will make your video look grainy, shadowed, or blurry. Proper, soft, and balanced illumination helps even cheap sensors perform better, making your image crisp and clear. If you want to get the best out of your webcam, understanding the low-light rule is essential — stick with us to find out more.
Listen free for 30 days with Audible
Thousands of audiobooks and originals — cancel anytime.
As an affiliate, we earn on qualifying purchases.
Key Takeaways
- Proper lighting enhances webcam image quality, especially in low-light conditions, regardless of camera sensor quality.
- Even premium sensors require well-placed diffused light for optimal performance.
- Good webcams perform poorly without effective lighting; poor webcams may improve slightly with better lighting.
- Position lights at eye level and use soft, even illumination to reduce shadows and glare.
- Investing in proper lighting is essential to maximize any webcam’s potential, especially in low-light environments.
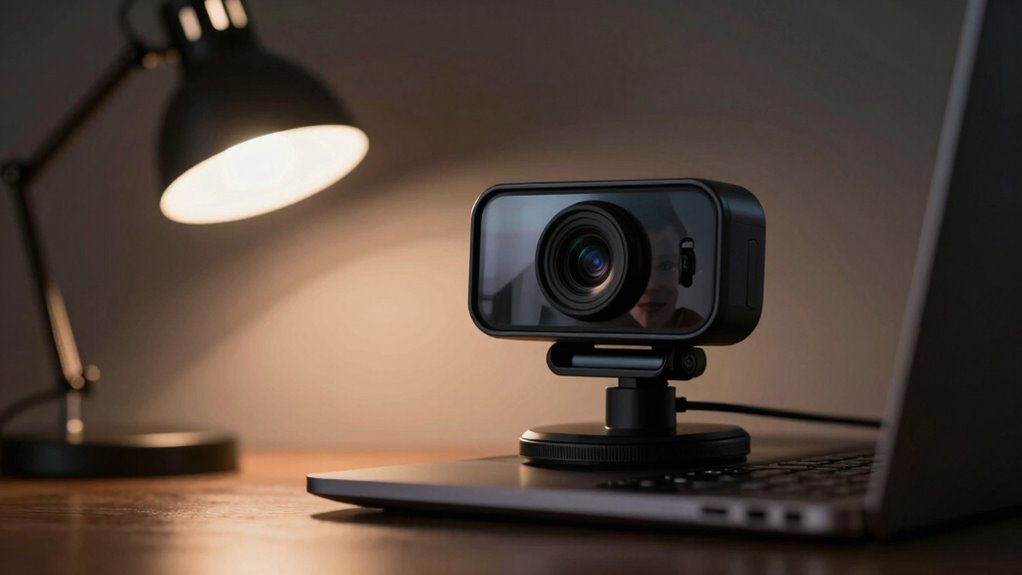
When it comes to webcam video quality, lighting plays a crucial role, especially in low-light conditions. No matter how advanced your camera sensor is, if the lighting isn’t right, your image will suffer—grainy, blurry, or shadowed. Good webcams can handle low-light situations better, but they still rely heavily on proper lighting techniques to produce clear, sharp images. The key difference between a good webcam and a bad one often boils down to how well it manages these conditions. A high-quality camera sensor can capture more light and detail, but it can only do so effectively if the lighting is appropriate. That’s why understanding and applying proper lighting techniques is essential to get the most out of your webcam.
Your camera sensor is the heart of your webcam—it determines how much light it can absorb and how well it can convert that into a clear image. Cheaper sensors often struggle in low-light, resulting in dark, noisy footage. On the other hand, premium sensors can detect even minimal light levels, but they still need decent lighting to perform at its best. This is where lighting techniques come into play. Using soft, diffused light sources can reduce harsh shadows and brighten your face evenly. Positioning a light slightly in front of you, at eye level, ensures your face is well-lit without creating unflattering shadows. Avoid placing lights directly above or below, as this can cast unflattering shadows or create glare. Proper lighting is essential for optimizing your webcam’s performance and overall image quality. Additionally, understanding sensor capabilities can help you choose the right equipment for your environment.
Adjusting your environment with simple lighting techniques can make a significant difference. For example, adding a ring light or a softbox can boost overall brightness and improve image clarity. If you’re working in a dim room, supplement natural light with additional lamps to fill in shadows. Incorporating ambient lighting can also help create a more balanced scene, reducing stark contrasts that may challenge your camera sensor. Being aware of lighting conditions in your space can help you adapt your setup for better results. The goal is to create a balanced, well-lit scene that allows your camera sensor to perform at its best. Remember, the more your lighting mimics natural daylight, the better your webcam will handle low-light situations. Even with a good sensor, poor lighting will produce subpar results, so investing in proper lighting is a cost-effective way to improve your video quality.
Ultimately, the low-light rule for webcams is simple: no matter how fancy your camera sensor, your success hinges on effective lighting techniques. Achieving proper illumination ensures your webcam captures crisp, clear images, making you look professional and engaging on camera. Don’t overlook the importance of lighting—it’s the secret to overcoming low-light limitations and turning your webcam into a powerful communication tool.
webcam ring light for video conferencing
As an affiliate, we earn on qualifying purchases.
As an affiliate, we earn on qualifying purchases.
Frequently Asked Questions
How Does Low-Light Performance Impact Overall Webcam Image Quality?
Low-light performance directly impacts your webcam’s image clarity and noise reduction. When lighting is poor, a good webcam enhances details and minimizes graininess, giving you clearer images. Conversely, bad webcams struggle in low light, resulting in blurry, noisy footage. You’ll notice the difference in how sharp and smooth your video appears, especially during dimly lit calls or streams. Improved low-light capability guarantees your image stays crisp and noise-free in any setting.
Are There Specific Webcam Models Optimized for Low-Light Conditions?
Think of your webcam like a night owl—it needs good night vision to see clearly in the dark. Models with advanced low-light sensors excel in dim settings, making your image sharp and vibrant. For example, the Logitech Brio has excellent low-light performance, thanks to its HDR and night vision capabilities. If you often video call in low light, investing in a webcam with these features guarantees clearer, more professional-looking images.
Can External Lighting Improve Webcam Performance in Low-Light Settings?
Yes, external lighting can notably improve your webcam’s performance in low-light settings. By increasing ambient illumination, you help your webcam capture clearer images. Using lighting accessories like ring lights or small LED panels ensures consistent, soft light that reduces shadows and enhances details. Properly positioned lighting makes a noticeable difference, especially when your environment lacks natural or sufficient light, resulting in sharper, more professional-looking video calls.
What Are the Cost Differences Between Good and Bad Webcams for Low-Light?
Good webcams typically cost $100 to $200, offering better low-light performance thanks to advanced sensors and larger apertures. Bad webcams, on the other hand, often fall below $50 and lack these features, resulting in poorer image quality in dim settings. The price comparison highlights feature disparities—higher-cost models include low-light enhancement, while cheaper options struggle in low-light environments. Investing more guarantees clearer, brighter images during low-light conditions.
How Do Different Webcam Sensors Perform in Low-Light Environments?
Imagine trying to spot a friend in a dimly lit room; your eyes need to adapt quickly. Similarly, webcam sensors with high sensitivity perform better in low-light, capturing clearer images. Infrared technology enhances this by detecting heat signatures, making images brighter and more detailed. Sensors with superior sensitivity and infrared tech guarantee your webcam performs well, even in the darkest settings, providing sharper video quality when it matters most.
softbox lighting kit for webcams
As an affiliate, we earn on qualifying purchases.
As an affiliate, we earn on qualifying purchases.
Conclusion
Now that you know the low-light rule, picture your webcam as a beacon in a dim room, guiding clarity through shadows. When it’s equipped with good low-light performance, your face remains vibrant and sharp, even when the lights dim. Think of it as turning on a gentle, warm lamp that reveals every detail. With this rule in mind, you’ll choose a webcam that keeps your presence bright and clear, no matter how dark the surroundings may be.
USB webcam with low-light performance
As an affiliate, we earn on qualifying purchases.
As an affiliate, we earn on qualifying purchases.
As an affiliate, we earn on qualifying purchases.
Fall Picks
fall essentials
As an affiliate, we earn on qualifying purchases.